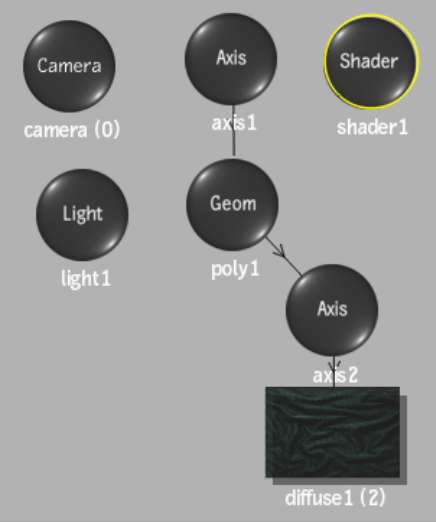
If you select a surface or 3D geometry in the scene before adding a Shader node, a shader inclusion link is automatically applied; otherwise, the shader is applied to all objects. You can also apply inclusion and exclusion links manually. You may want a shader to only affect an individual or specific group of objects, or prevent a shader from affecting an individual or specific group of objects.


The selected object is connected to the shader by a blue dotted line with an arrow, and only the selected objects are affected.

(a) Shader inclusion link
Excluded surfaces are connected to the shader by a red dotted line with an “X”, and they are not affected by the shader.

(a) Shader exclusion link


