When importing OpenEXR files into Backdraft Conform, select the import method based on the type of data contained within: multiple channels or high dynamic range images.
OpenEXR files are designed to support multiple resolutions and additional channels, making them appealing for compositing. Since OpenEXR can store arbitrary channels (such as specular, diffuse, alpha, RGB, normals, etc) in one file, it takes away the need to store this information in separate files. However, to support all channels in Backdraft Conform, they need to be converted to separate RGB clips upon import. These RGB files can then be modified and combined to reconstitute the final clip.
If you are importing such OpenEXR files, you can use WiretapCentral to set up OpenEXR transcoding jobs. These jobs output RGB image sequences to a location that is accessible to Backdraft Conform.
When importing multiple OpenEXR channels in WiretapCentral, you can only import OpenEXR files in 16-bit floating point format.
OpenEXR files can also store high dynamic range images. Because of the high dynamic range, these images need to be handled in a specific way. You can import a 16-bit floating-point format OpenEXR image file and view it in Backdraft Conform the same as any other type of image file. But, in order to perform any image processing or compositing on the OpenEXR image file, you must convert it to a 12-bit, 10-bit, or 8-bit linear format on Autodesk storage.
There are two ways that you can convert OpenEXR images:
To import an OpenEXR image file:


If you select MultiChannel, the Load button is grayed out and you must use WiretapCentral to import your files.
WiretapCentral opens the Import panel in a browser window. Use it to decode your OpenEXR files to a format that is readable in Backdraft Conform.
You can set a number of display and search options to help you find what you need. See Browsing the File System.


Adjusting the Bit Depth to anything other than 16-bit fp will cause a linear resizing to occur on the OpenEXR file, negating any of its dynamic qualities.
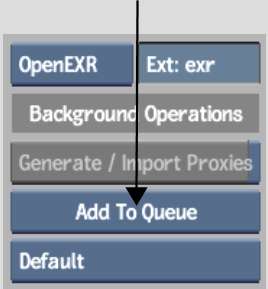
If you are soft-importing the clips, you can generate proxies in the background. This gives you the ability to assemble the timeline while proxy generation is taking place. See Importing and Soft-Importing in the Background.
After you have imported the OpenEXR image, you can view it in its native resolution and bit depth.


