You can enable the Stereoscopy feature in one of the following ways:
Selecting a Raster for Stereoscopy
The Stereoscopy feature can be enabled when you select a stereoscopic raster from the raster list. You want to only select a stereoscopic raster if you are connected to a proper stereoscopic device (e.g., Stereoscopy projectors (two projectors or one), or a 3D monitor). Refer to the Autodesk Lustre Hardware Setup Guide.
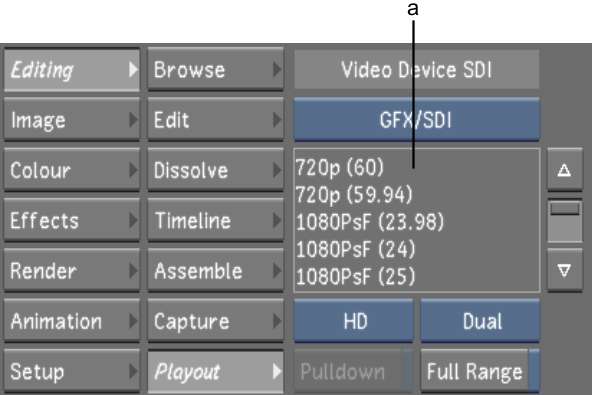
To select a stereoscopic raster:


(a) Video/Graphics Raster button (b) Link Type button (c) Format button
Enabling the Stereoscopy Button
Another way to enable the Stereoscopy feature is by enabling the Stereoscopy button. You would enable the Stereoscopy button when you are grading a Stereo project and you are not outputting to a Stereo device. By enabling the Stereoscopy button, it allows you to grade the Stereo footage without having an output device to see your end results (i.e., you have a standard output).