You can capture an audio signal of up to 16 tracks
as a single 48 kHz (16-bit or 24-bit), interleaved WAV or AIFF file.
The audio is saved in the scene's sacc_data\audio folder.
If using the Linux version of Lustre, the filename uses forward
slashes.
NoteThe audio folder
is automatically created when you create a scene.
To capture an audio WAV or AIFF file:
- Click Editing in the main menu, and then
click Capture.
- Select the appropriate raster. See
Selecting a Raster for Capture.
- Select the audio file type, bit depth,
and determine if you want to capture the audio tracks as a single
or multiple files. Single File Capture is enabled by default.
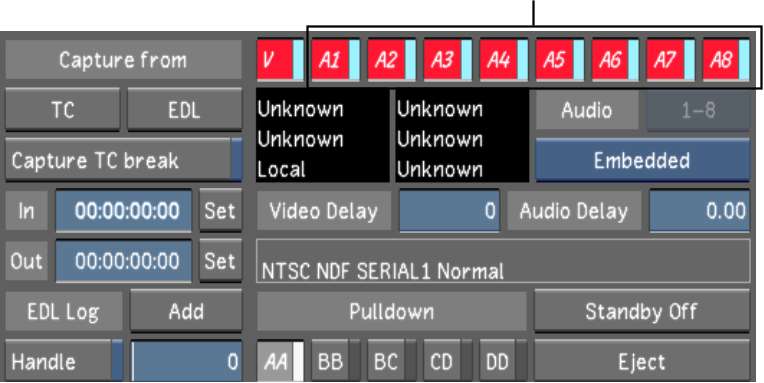
- Enable the audio track(s) you want to
capture.
- Click the TC button to start the capture.
If the audio you are
capturing is on numerous tracks and the Single File Capture option
is enabled, Lustre groups all the tracks with the same name
and displays them as a single file (e.g., file_name.wav).
If Single File Capture is disabled, each track is saved separately
but grouped together in the audio file list. For example, the audio
file name will be file_name_A[#-#].wav, where the
numbers within the brackets represent the number of tracks within
the file.
NoteWhen you capture
a broken selection (e.g., tracks A1, A3, and A5) and Single File
Capture is enabled, the resulting single audio file contains three
tracks. Therefore, in the Playout menu, tracks A1, A2, and A3 are
enabled. If Single File Capture is disabled, the three tracks are
saved as three separate files and in the Playout menu, tracks A1,
A3, and A5 are enabled.