Accessing the LUT Editor from the Import Image Menu


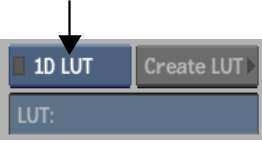
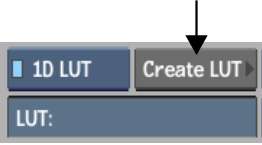
Access the LUT Editor from the Import Image menu to edit 1D LUTs. When you have modified the LUT, you must export it upon exiting the editor to return to the Import Image menu.

To access the LUT Editor from the Import Image menu:

  1. Open a clip library for storing the images.
  2. Click Import Image.

    The Import Image menu appears.

  3. Use the file browser to locate the image you want to import.
  4. In the LUT Type box, select 1D LUT.

    Show small imageShow large image

  5. Click Create LUT.

    Show small imageShow large image

  6. Using the file browser, select a reference image.

    When selecting a reference image, you load only a single frame (the first, by default). To select a different frame, switch to Proxies view mode and expand the image sequence by clicking on the proxy's expansion arrow.

    The LUT Editor appears. When loading a large image, such as a 2K Cineon image, it can take a few moments.

  7. Define a basic LUT type, or load a LUT Editor setup to begin customizing the LUT. See Defining a Basic LUT Type and Saving LUT Editor Setups.
  8. Click Exit to export the LUT and return to the Import Image menu. See Exporting LUTs.