


Unlinking Media from Selected Timeline
Segments
You can unlink selected segments of a timeline using the Unlink tool. This is useful for replacing selected segments with a recaptured shot. For example, if a set of shots has been colour corrected outside of Backdraft Conform since they were originally captured, you can unlink the segment on the timeline, save the timeline to the clip library, capture the colour-corrected shots using the Recapture tool in the Tools menu, and relink them automatically into the timeline clip.
If you are working with generated proxies in your project, you can unlink the media and retain the proxies, for example, if you want to work on the proxies prior to recapturing the original media.
When you unlink timeline segments, the media of the associated source clips is not unlinked from the clip metadata. Therefore, space is not freed up on the framestore as it can be when unlinking clips from the clip library. If you wanted to delete the media associated with a source clip from the framestore, you would have to explicitly unlink that source as well as the segment on the timeline.
After you unlink a segment, you cannot relink to the unlinked media — you must recapture it first. However, you can use Undo during a work session to re-establish a link between a segment and its media. Note that when unlinking from the EditDesk, the media is unlinked regardless of whether or not it is reloadable.
To replace the unlinked segments, save the timeline and use the procedure described in Recapturing Media. Only the events corresponding to the unlinked segments are listed in the events list for recapture.
Segments selected for unlinking can have soft effects applied to them. The soft effects will be retained in the clip metadata. You can unlink segments that have transitions applied to them; however, you cannot unlink just a transition.
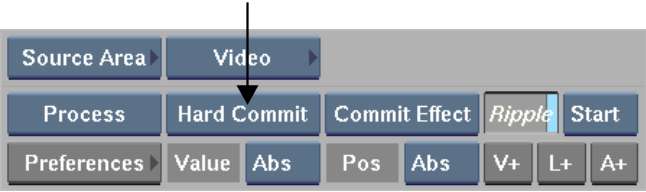
To unlink the media for selected timeline segments:


| Select: | To: |
|---|---|
| Unlink | Unlink the media from the selected segments. Proxies are not retained. |
| Unlink High Res | Unlink the media from the selected segments and retain
the proxies. You can continue to work with the proxies.
NoteTo view and work
with proxies on the EditDesk and in the Player after unlinking,
select Proxies in the Player Resolution box in the Player. See
Setting Playback Resolution and Mode.
|
The selected segments are unlinked. On the timeline, unlinked video segments are a lighter grey than other video segments and unlinked audio segments are a lighter green.
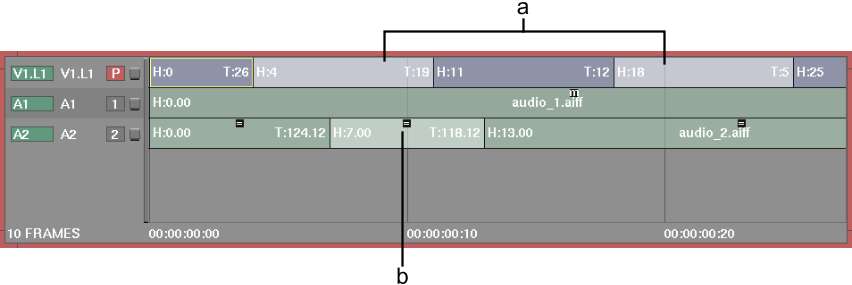
(a) Unlinked video segments (b) Unlinked audio segment
In the Record Area proxy, the image is replaced with a black image containing the label “Unlinked Media” (if you selected Unlink). If you selected Unlink Hi Res, the label “Unlinked Hires” appears on the proxy. If Proxy resolution is selected in the Player, the proxy image appears.