You can save the following
items from the EditDesk to the current clip library:
- An individual clip or multiple clips
- The Source Area
- The entire EditDesk
- The EditDesk Library
NoteYou cannot save clips to read-only clip
libraries.
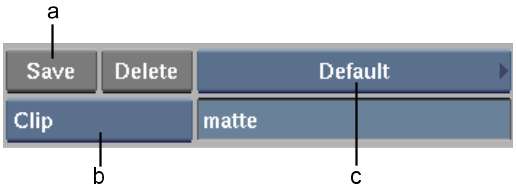
To save an item to a clip library:
- Display the EditDesk menu.
- Select the type of item you want to save
from the Item box.
- From the Clip Library box, select the
clip library in which you want to save the item.
- Click Save.
- When saving the Source Area, Record Area,
or EditDesk, the on-screen keyboard appears.
- When saving clips, a red selection cursor
appears. Click the upper-left corner of the clip you want to save.
The on-screen keyboard appears.
- When you save an unmodified source clip
to the library, if there is a comment applied to the video element,
this comment is visible in the library. The video element comment
can be entered on the EditDesk, or in the EDL Import module.
- Type a name for the item. If it has a
name, accept the name or modify it.
- Click Enter on the on-screen keyboard
(or press Enter).
A message appears indicating
that the item was saved successfully, and the saved item appears
as an entry in the current clip library.
If you enter a name that
already exists in the current clip library, a warning appears indicating
the name is already in use. You have three choices.
| Select: |
To: |
| Add |
Create the new entry, giving you two entries with the
same name.
|
| Replace |
Replace the entry in the clip library with the entry
being saved.
|
| Rename |
Enter a different name in the keyboard for the entry
being saved.
|
NoteA Record Area can
have the same name as a Source Area.