Processing and Formatting Effects > Resize > Setting Default Image Resolution Characteristics
on Import >
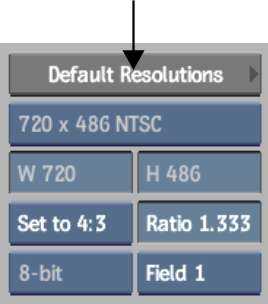
Default Resolutions List
The Default Resolutions list determines the aspect ratio, scan mode, and frame rate to apply to an image with a specific width and height. It is consulted during import when you select Default in the Aspect Ratio box of the Import Image menu.


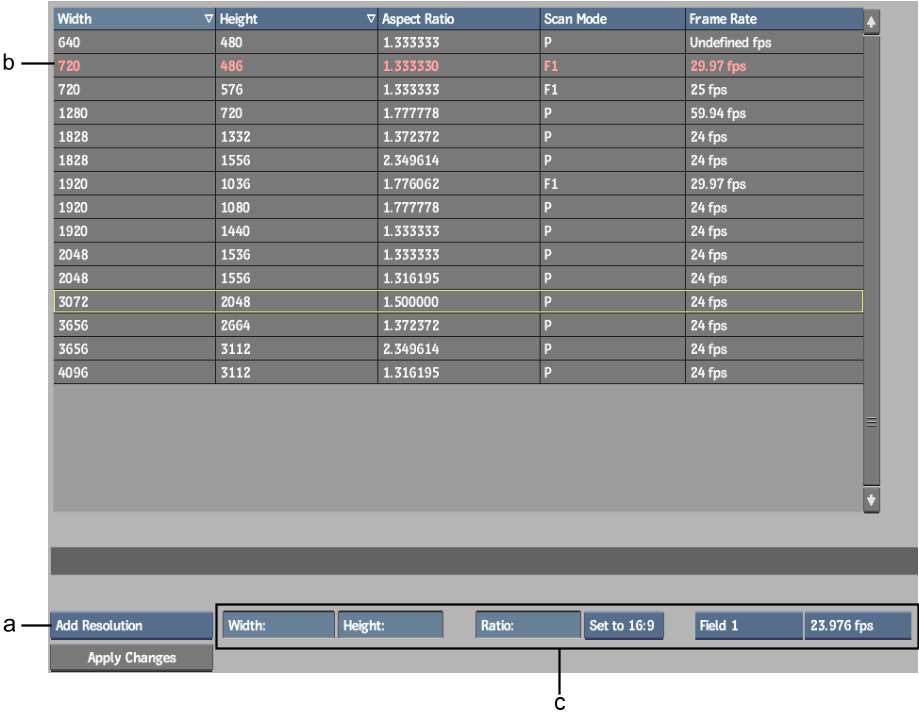
(a) Resolution Edit Mode box (b) Current project resolution (c) Edit controls
The list displays the contents of the /usr/discreet/cfg/legacy.res.cfg file. If this file does not exist, the system defaults for each resolution are used, such as 1.33 for NTSC and PAL.
The default resolution of the current project appears in red. You can edit any item in the list, as well as add or remove items. If you edit the default resolution of the current project, the edit is in effect only for the current session. The next time you open the project, the resolution reverts to that stored with the project.
To display the Default Resolutions list:
To add a resolution to the list: