Changing the Scan Mode
of a Project
The project scan mode dictates how interlaced video formats are captured from tape, sent to the broadcast monitor in-session, and output to tape. The project scan mode also determines field-based processing.
You can change the scan mode of your project by selecting an alternative scan mode option. Do this, for example, to view a PAL clip in an NTSC project properly before reversing its field dominance. Generally, changing the scan mode of a project is a temporary measure performed only to allow for the monitoring of clips whose format does not match the scan mode of the current project.
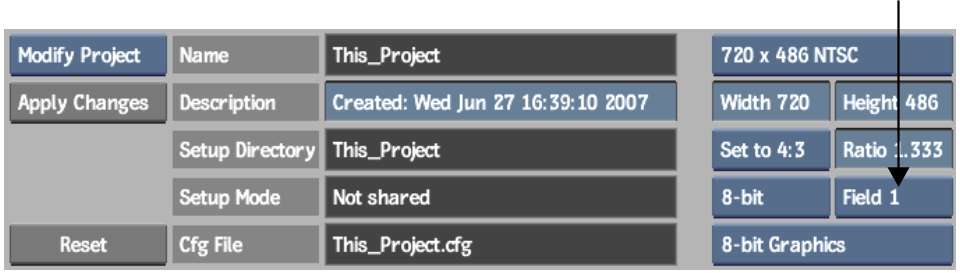
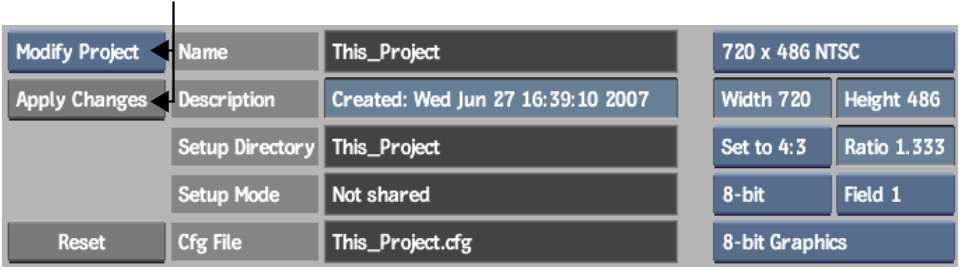
To change the scan mode of a project: