RED media can be imported
as individual R3D files.
- In WiretapCentral, from the Import menu, select
RED.
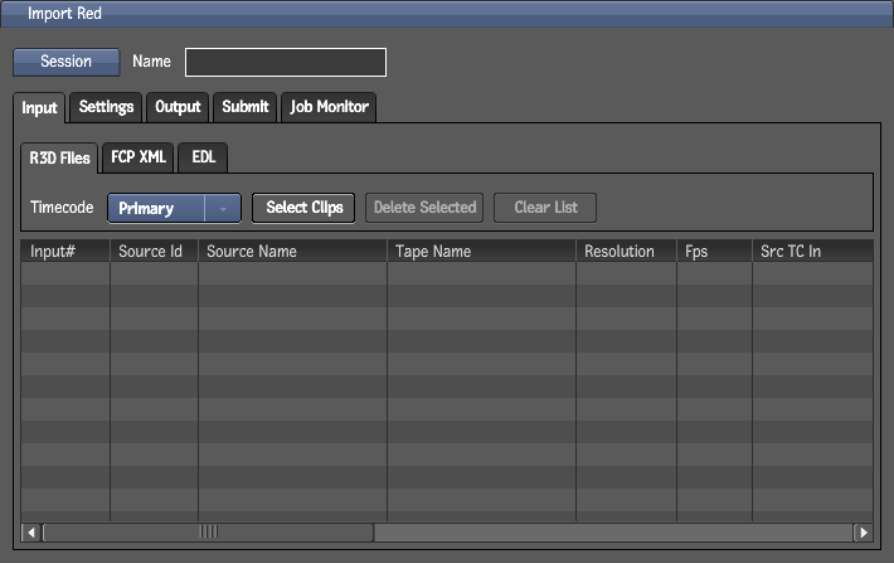
This starts a new import
job. The Import Red window appears.
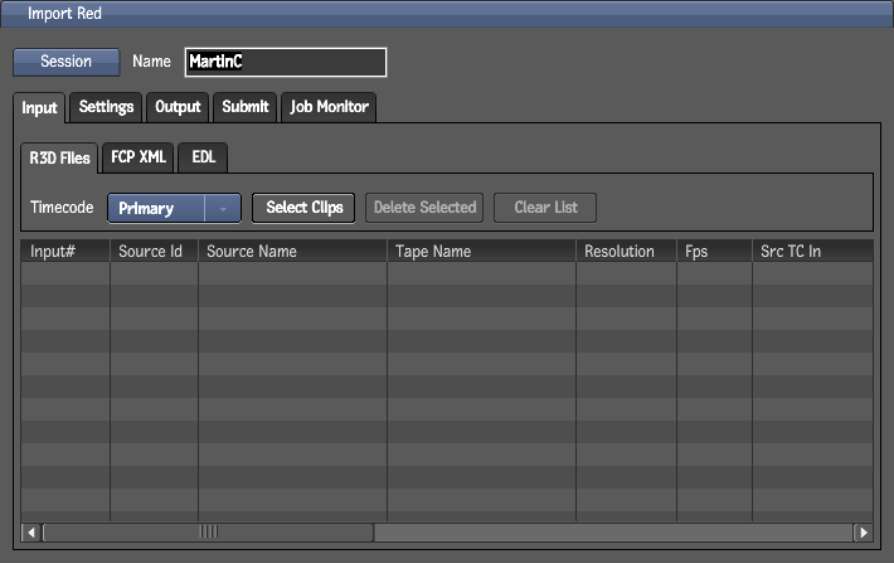
- Enter a session name. Special characters
are prohibited.
The session name identifies
your import job when saving or loading a session, and when outputting
the job. It is also the job name in Backburner Manager.
- Optional: Save the session. At any time,
you can save a session. From the Session button, select Save or
Save As. Use the Session button to load a previously saved Import
Red session or delete one.
WarningSessions are saved
as cookies. Deleting your browser cookies deletes your saved sessions.
On Mozilla® Firefox®, using the Clear Recent History
option deletes the browser cookies.
- Ensure that the Input tab is selected.
- From the Input tab, ensure that the R3D
Files tab is selected.
- From the R3D Files tab, select the Timecode
to use.
- From the R3D Files tab, click Select
Clips.
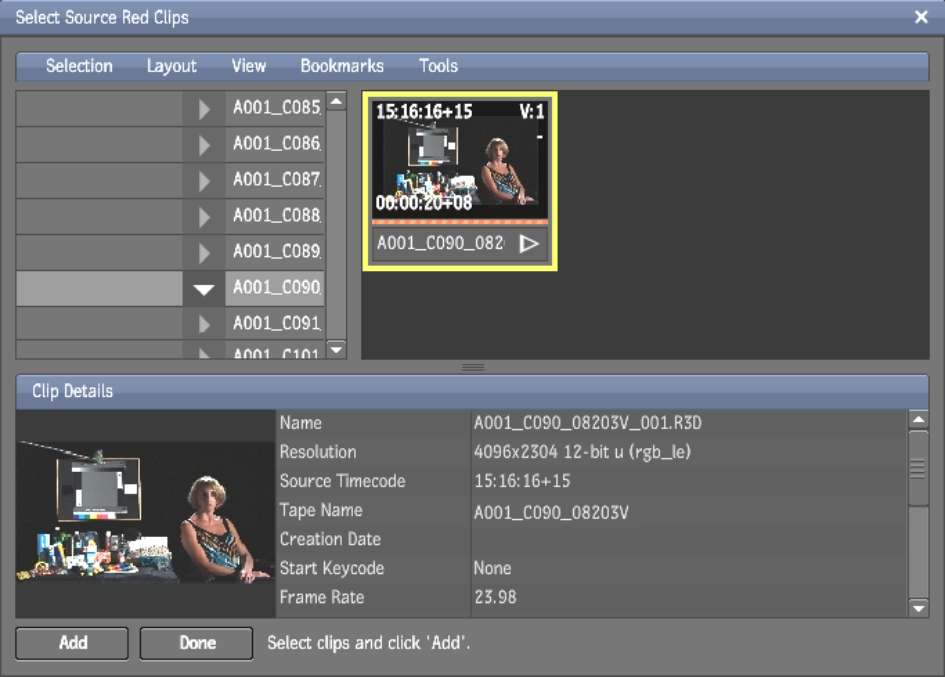
A browser appears.
- By browsing through a Wiretap Gateway,
select one or more RED clips and click Add.
Select multiple files
at a time by using the Shift or Ctrl key.
The number of clips selected
is displayed at the bottom of the screen.
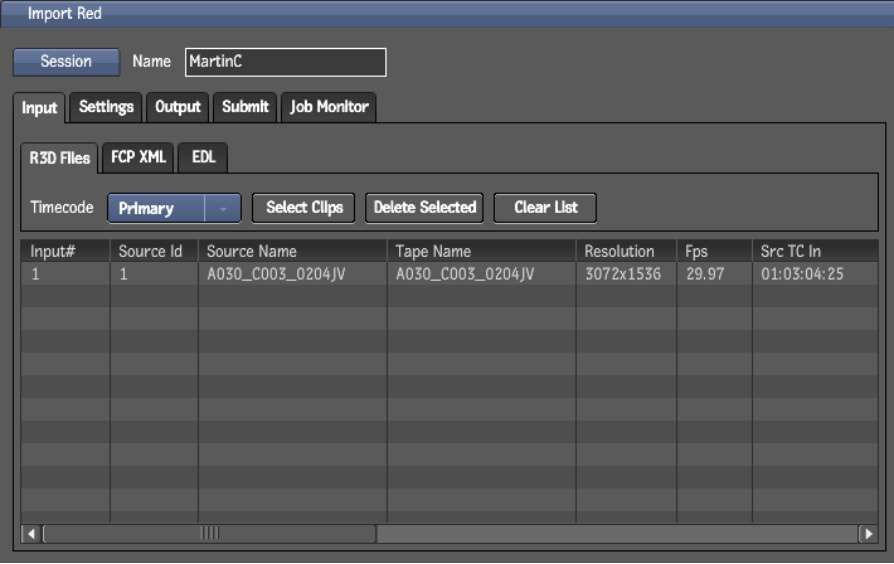
- When you are finished, click Done.
The selected clips appear
in the Input list.
NoteTo verify the timecode
used: if the Src TC columns matches either Edgecode or TOD TC (time
of day) columns, the clip will be imported using the matching timecode.
If it matches neither, the clip will be imported using the primary
timecode.
- When you are ready to proceed, click
the Settings tab.
See
Adjusting the Settings.