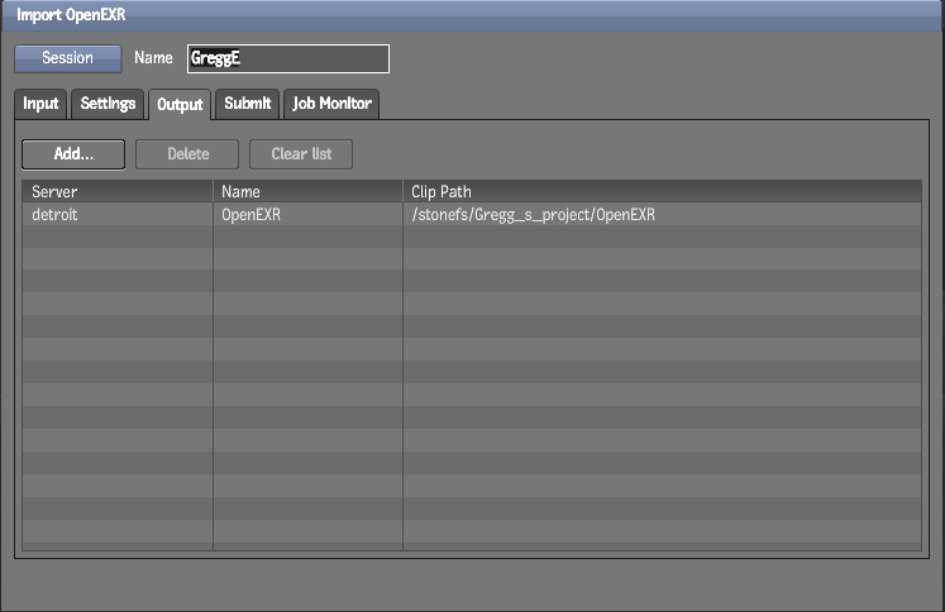
Use the Output tab to set one or more output destinations for your import OpenEXR job. A job can be sent to multiple destinations. The decoding is done once and streamed simultaneously to each location.
The clip placeholder is created right away and the media is populated in the background without locking the clip library in your Autodesk Visual Effects and Finishing application.


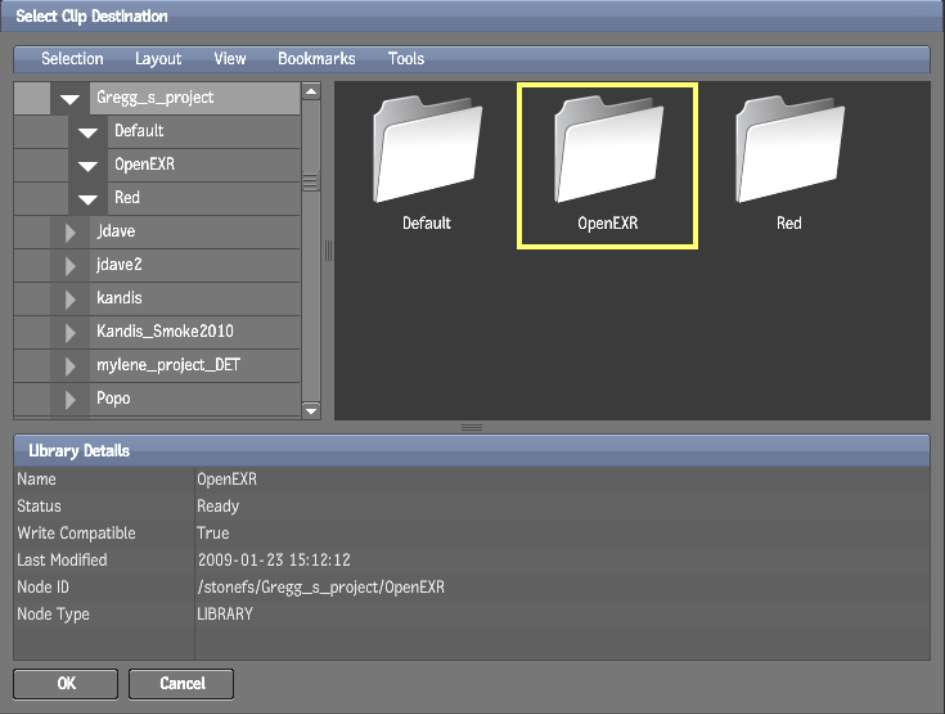
The destination can be any StoneFS on an Autodesk Visual Effects and Finishing workstation. Uncompressed RGB images are generated and the corresponding clips are created in Project/Library/Reel. Clips are named according to their source file name.
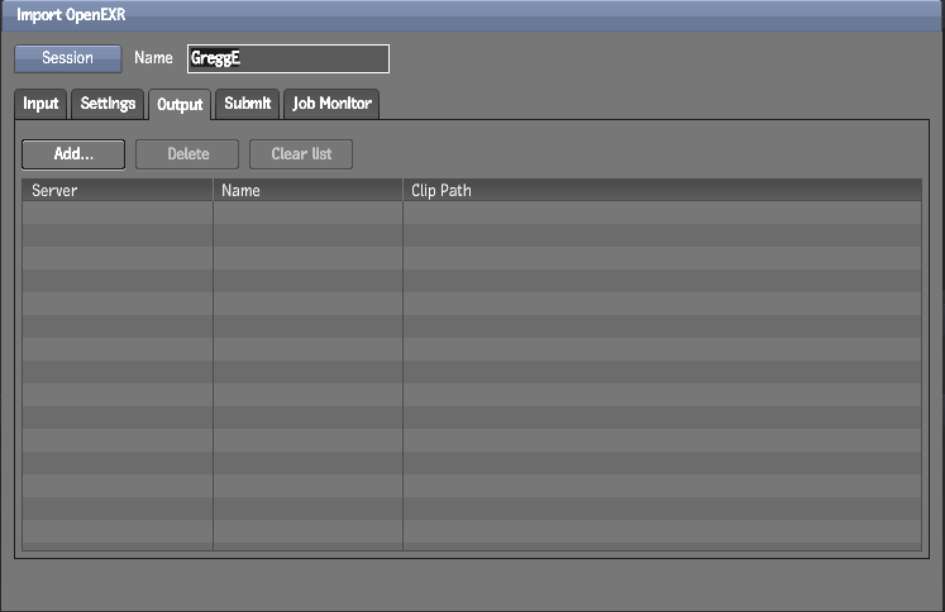
The selected destinations appear in the Output list.