Defining the Output Destination


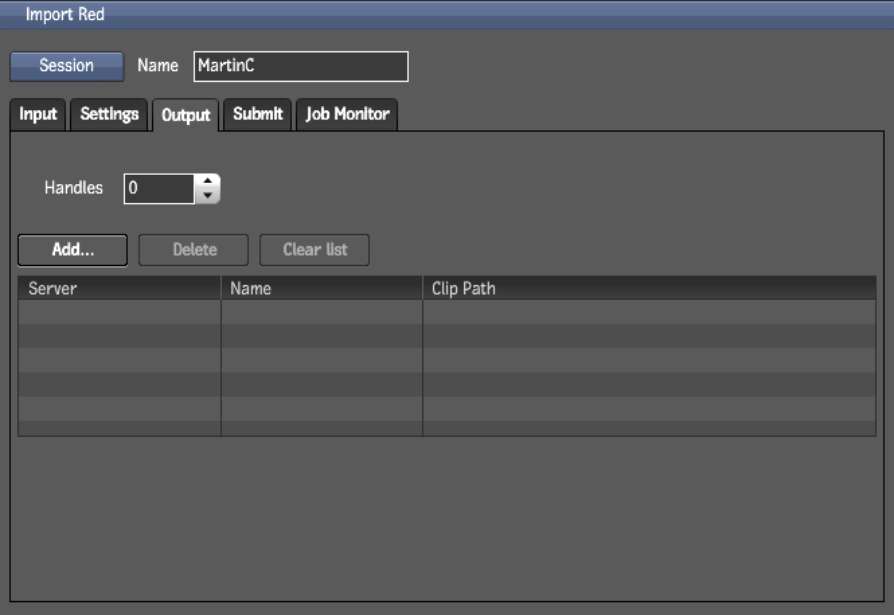
Use the Output tab to change how timecode is used in the clip, to use handles, and to set one or more output destinations for your import RED job. A job can be sent to multiple destinations. The decoding is done once and streamed simultaneously to each location.

WarningBe careful when transcoding to a StandardFS volume: if a file with the same name already exists in the destination folder, it will be overwritten with the newer file.

The clip placeholder is created right away and the media is populated in the background without locking the clip library in your Autodesk Visual Effects and Finishing application.

  1. Click the Output tab.

    The output options appear.

    Show small imageShow large image

  2. Click Add to add a destination for the given jobs.

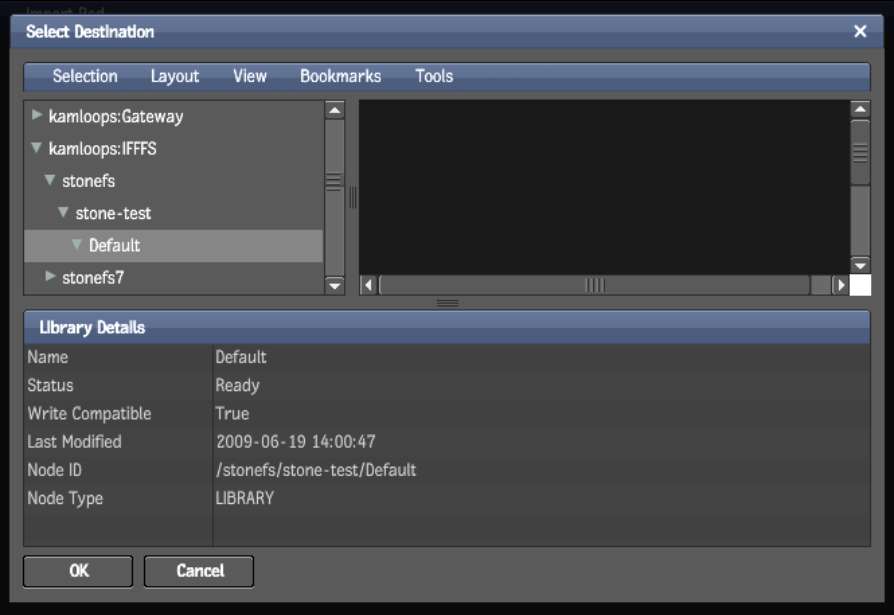
    A browser appears.

  3. Select one or more destination locations for the processed clips.

    Show small imageShow large image

    Depending on whether the destination is a StoneFS or a standard, unmanaged filesystem, different kinds of images sequences will be created.

    • If the selected destination is a StoneFS on an Autodesk Visual Effects and Finishing workstation, uncompressed RGB images are generated and the corresponding clips are created in Project/Library/Reel. Clips are named according to their source R3D file name.
    • If the selected destination is on a Wiretap Gateway server, then stand-alone DPX sequences are created in Main folder/Resolution.
      WarningIf a file with the same name already exists in the destination folder, it will be overwritten with the newer file.
      NoteYou should create a folder using the project name to identify your clips.
  4. To create a new library, select a project then, from the Tools menu, select New Library.
  5. To create a new reel, select a library then, from the Tools menu, select New Reel.
  6. Select a destination and then select New Reel from the Tools menu.

    The DPX file name is always timecode-based, and is padded to 7 digits. Metadata is maintained in the DPX header. Other metadata gets written into the XML file that WiretapCentral produces for each clip.

    DPX sequences can be imported directly into Lustre, or as clips in Autodesk Visual Effects and Finishing applications.

  7. When done, click OK.

    The selected destinations appear in the Output list.

  8. Optional: Set Handles.

    In a conforming workflow, you may add extra frames to the heads and tails of clips to provide for dissolves and other transitions during finishing. Always set handles when importing FCP XML, since FCP sometimes adds an extra frame at the end of the last clip in the sequence which may cause problems upon import. WiretapCentral automatically adds enough handles to cover for transitions such as dissolves and wipes.