Compare scenes side-by-side
to examine features or forms that are similar in both scenes.
NoteYou cannot use a
display cluster to compare scenes in a side-by-side view.
Compare scenes side-by-side
NoteYou cannot save any
changes you make in this feature. It’s recommended you set up all
scenes before continuing.
- Load
the scenes into the Compare Scenes interface.
Add additional scenes to compare
- Select Presentation
> Side-by-Side (or press the S key).
The first two scenes
are shown side-by-side. The interface switches to presentation mode.
If you are already in
presentation mode, you can also click this button.
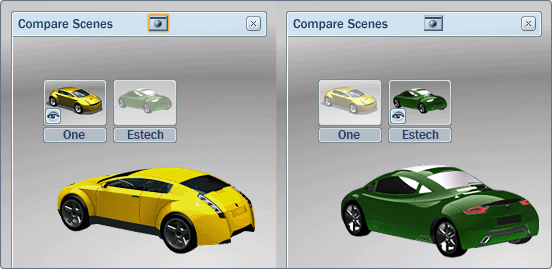
- A split view appears, with a different
scene shown in each side.
For each side, the active
scene in the Compare Scenes interface is shown with the eye icon.
The icon for the scene on the other side is grayed out.
- The cameras for both sides are locked,
meaning objects in both sides move the same way as you navigate
around the scene.
You can change the camera
angles for both sides by navigating around in either side, by clicking
on the ViewCube, or by selecting shots, turntables, or alternatives.
In all cases, the objects in both sides move the same way.
- If you have loaded three or more scenes,
you can change the scene on either side by clicking on the icons
in the Compare Scenes interface.
- To exit from the side-by-side views:
- To go back to authoring the scene, press
the Tab key.
- To keep presenting the scene, click this
icon on the side of the scene you want to view:
Switch between scenes in
either side-by-side view
- Press C to view the Compare Scenes
interface on either side. Click a scene icon to change the scene
on that side.
- To cycle forwards through three or more
loaded scenes, select Presentation > Compare Next to
view a submenu. From that submenu, select which side you want to
change (or select For Both to
change scenes on both sides).
- To cycle backwards
through three or more loaded scenes, select Presentation
> Compare Previous to view a submenu. From
that submenu, select which side you want to change (or select For Both to
change scenes on both sides).
NoteTo quickly switch
scenes during a presentation, memorize the hotkey combinations shown
in the menus.
Use shots
You can switch to the
camera angles and motions you’ve already set up as shots.
- Press T to view the Shots interface.
- From the Display menu in the Shots interface,
select the scene for the shots you want to use (or select From
All Scenes to see all shots from all loaded
scenes).
- Click over a shot. Its camera movements
are shown in both sides.
Exit from the Compare Scenes
interface
Select File > Close Scene to
start a new scene (or File > Exit to
exit the application).
NoteYou cannot save any
changes you made to any scenes loaded into the Compare Scenes interface.