To make nHair look more realistic, you can modify the hair system attributes to increase hair thickness and body, and add curls and shape to the hair. When you modify nHair system attributes, changes are made to all the curves in the hairSystemShape node and not individual hair curves. To modify the look of individual hairs or clumps of hair, you need to edit their follicle attributes.
In this section of the lesson, you modify various hair system attributes to make the model's hair look fuller and more realistic. Then, you add curl and stiffness to create a basic hair style.
Clump Width controls the width of the hair clump from root to tip.
Hairs Per Clump controls the number of hairs per curve (hair clump). Increasing this value increases the rendering time.
Sub Segments adds the specified number of points between segments/points and helps smooth the hair curves.

The nHair is noticeably fuller.
You can further modify the hair clump width by adjusting the Clump Width Scale attribute to vary the width along the hair from root to tip. For example, you can set the Clump Width Scale ramp so that the hair clumps are tapered.
| Marker | Selected Position | Selected Value |
|---|---|---|
| 2 | 0.63 | 0.74 |
| 3 | 1.0 | 0. |

Continue styling the hair by adding curl to hair clumps. You can add curl to hair clumps and vary the amount of curl from the hair root to tip. For example, you can set the Clump Curl ramp so that the curl is concentrated in the middle regions of each hair, then gradually decreases at the hair tip.
To add curl to the hair clumps
| Marker | Selected Position | Selected Value |
|---|---|---|
| 1 | 0 | 0.0 |
| 2 | 0.25 | 0.75 |
| 3 | 0.5 | 0.9 |
| 4 | 1.0 | 0.0 |
The Clump Curl ramp creates large scale curls about the clump center, adding some twist to the hair.

You can also use the Curl attribute to create curls along the direction of individual hairs.
Curl sets the amount of curl displacement relative to the hair width.
Curl Frequency specifies the rate of the curl. The higher the value, the more curls are added.

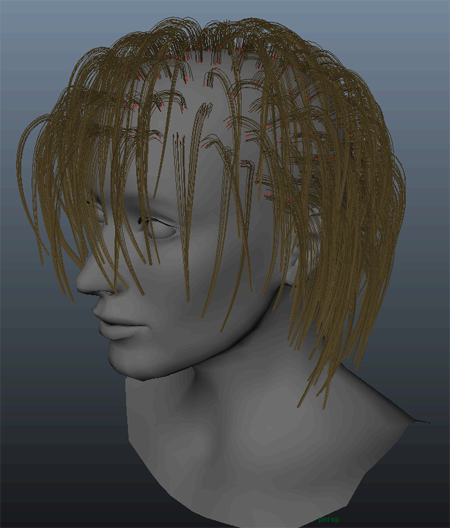
After playing the nHair simulation, you can see the hair style beginning to take form, however there are several areas of hair that look too thin and patchy to be considered a realistic hair style.

In the next section of the lesson, you add passive follicles to fill in the regions where the hair is thin.


