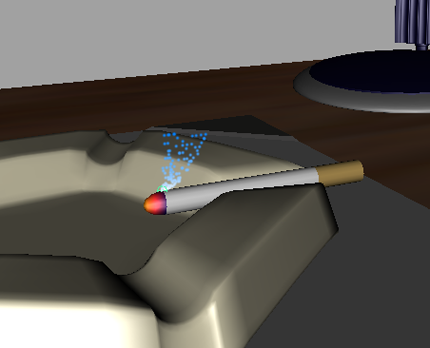
When you play the simulation, notice that the nParticles are not dissipating into the air like smoke does. This is because the nParticles lifespan is not yet defined.
In this lesson, you make the nParticles disappear from the scene after they reach a specified age by using the nParticle Lifespan attributes. You can set the nParticle object’s size (Radius) according to its lifespan so that nParticles decrease or increase in size as they age.
The nParticles now die (disappear from the scene) shortly after they are emitted. nParticle Lifespan is measured in seconds, meaning that at a Lifespan of 1.0, the nParticles die after one second.

The nParticles die off more randomly, but the nParticle object is still not dense enough to look like smoke. You can make your nParticle object denser by increasing the nParticle Radius.

For a realistic smoke simulation, the nParticles must gradually disperse as they rise in the air. You can use the Radius Scale ramp to increase the radius of nParticles as they age, which creates the effect of smoke dispersing until it gradually disappears.
The ramp is the graph-like rectangle located to the right of the Selected Position and Selected Values fields. If no markers exist yet on the ramp, simply click on the graph and then either slide the marker to the desired position, or enter the marker's value in the Selected Position and Selected Value fields. The first marker should coincide where the line intersects the left-most part of the graph while the last marker should coincide where the line intersects the right-most part of the graph. You create markers by clicking in the ramp.
Creating a new marker allows you to set two Selected Value and Selected Position values. Each Selected Value specifies a scaling value for the nParticle object's Radius attribute. By default, ramps define a scaling value of 1, meaning that only one mark exists on the ramp and that marker represents an attribute scaling factor of 1. Setting a selected position to 0.5 sets per-particle radius to half the Radius value.
| Marker | Selected Position | Selected Value |
|---|---|---|
| 2 | 0.732 | 0.180 |
| 3 | 0.882 | 0.480 |
| 4 | 1.0 | 1.0 |

For each point in the ramp, leave Interpolation at its default setting of Linear.
When Normalized Age is used, per-particle radius is mapped within the range of the nParticle object’s lifespan.
You can continue to adjust the per-particle radius by adding more markers to the ramp, or optimize the ramp values as the simulation plays back.

 Except where otherwise noted, this work is licensed under a Creative Commons Attribution-NonCommercial-ShareAlike 3.0 Unported License