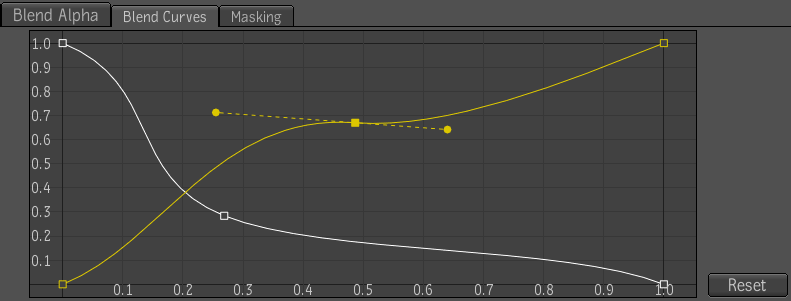
Blend curves are used to adjust the blend of the front and back elements by adjusting the amount of fractional opacity (pixel area) for the front, and one minus front. The latter gives more importance to the back. Blend curves is useful for controlling the blend along the edges of a matte by adjusting fractional values, not 0 and 1 values. Because mattes have fractional values along the edges, the blend curves affect the edge blending.
To add a control point to the curve:
To delete a control point from the curve:
To remove the Add or Delete control point mode:
To reset both curves at the same time:
 Except where otherwise noted, this work is licensed under a Creative Commons Attribution-NonCommercial-ShareAlike 3.0 Unported License


