Warping of a single image is a multi-step process.
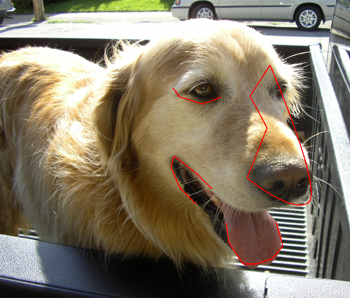
- First, work in source space (by viewing the input image by pressing the 5 hotkey while focused in the viewer) drawing several
shapes which define the important features that will be deformed and the fence shapes which will lock parts of the image in
place (like the dog's left eye down to its nose).
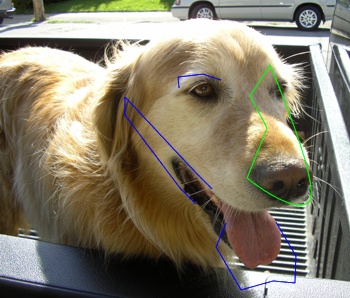
- When you are finished, switch out of source space into destination space (by pressing the 6 hotkey while focused in the viewer)
and begin editing the destination shapes.
- As you drag around a destination shape, the image underneath is warped accordingly.
- Once you have dragged all the destination shapes to their desired final positions, you may want to add another shape pair
or fence shape to refine the warp.
NoteYou will have to switch to source space to draw the starting position, then back to destination space to move the shape around
and see the result.
 Except where otherwise noted, this work is licensed under a Creative Commons Attribution-NonCommercial-ShareAlike 3.0 Unported License