In Composite, media is a sequence of one or more images that you import. All media is represented as RGBA images. When you import media, Composite uses the information in the media file to determine whether the media is RGB, RGBA, or A. When you create a composition, Composite applies the project preferences to create compositions as RGB, RGBA, or A—see Setting Project Preferences.
Autodesk Composite only supports MOV format in the 32-bit version of the software. MOV is not supported in the 64-bit version of Composite. Instead use image sequences.
For a list of supported file formats, see Supported Media Formats.The media you work with can reside anywhere on the network. When you import media, you are not physically copying that media to another location, but rather you are creating a composition for that media in Composite; the actual physical location of the media is stored as information in the composition. Composite recognizes both drive letters and Universal Naming Convention (UNC) paths. Composite also supports Wiretap—see Accessing IFFFS Libraries on the Ntework Using Wiretap.
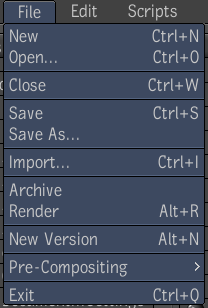
While you are working, you can import media at any time using the File Browser or the floating File Browser. You can browse the network and import media on a shared folder using the UNC path or the Python script. You can also drag and drop the media directly from the floating File Browser into a Schematic view or the Player. To share your imported compositions, you should use the Import button on the File Browser to create a Composite compositions folder or another folder that you use to store your media.
To import media with the floating File Browser:

To import media with the File Browser view:

You can also play the media in the mini-Player at the bottom-left of the Tool UI, or click the Full Screen button in the mini-Player to play it in the full screen Player (press F to exit the full screen Player).
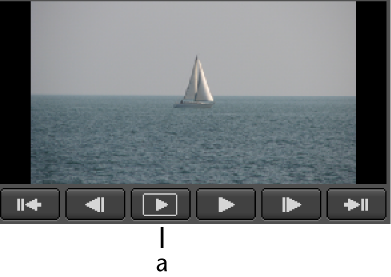
(a) Full Screen button
The following displays the color conversion options for Cineon and DPX image formats.
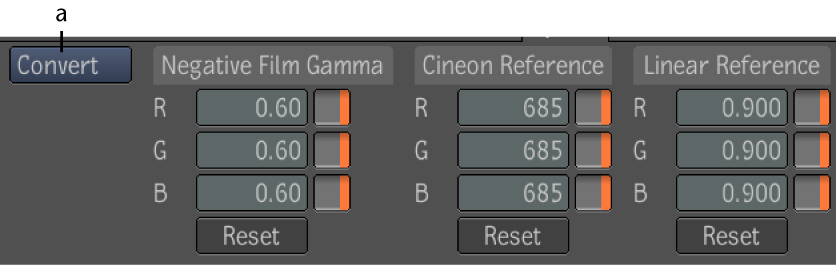
(a) Select Raw to disable conversion.
The following displays the color conversion options for image formats other than Cineon or DPX.
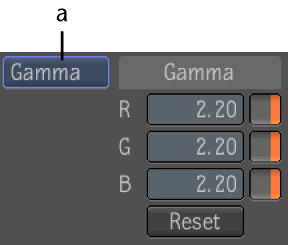
(a) Select Gamma to adjust the Gamma options.
Drag the file directly into the Footage folder or click Import. You can create other folders to store the compositions that you create when you import. Dragging the file or using the Import button imports the media quickly and is useful when you do not need to immediately work with the media on the machine on which you are performing the import.
 Except where otherwise noted, this work is licensed under a Creative Commons Attribution-NonCommercial-ShareAlike 3.0 Unported License


