


Create a Particle
Sampler Info node
This is the general procedure for creating a Particle Sampler Info node. These are general steps—we’ve included examples of specific tasks in Examples of using the Particle Sampler Info node.
To create a Particle Sampler Info node
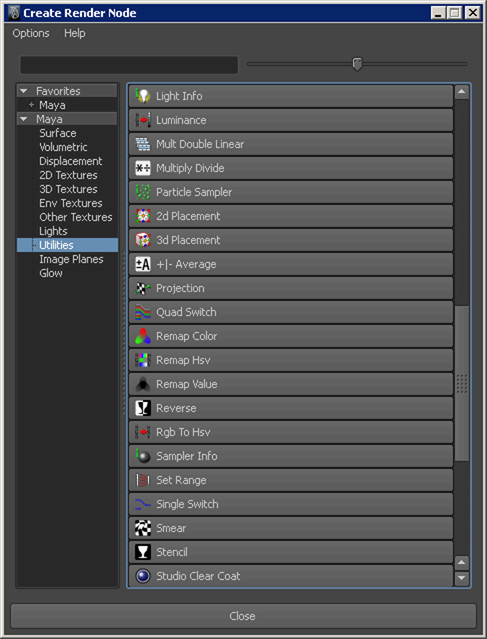
 (map)
button next to that attribute to display the Create
Render Node window.
(map)
button next to that attribute to display the Create
Render Node window.
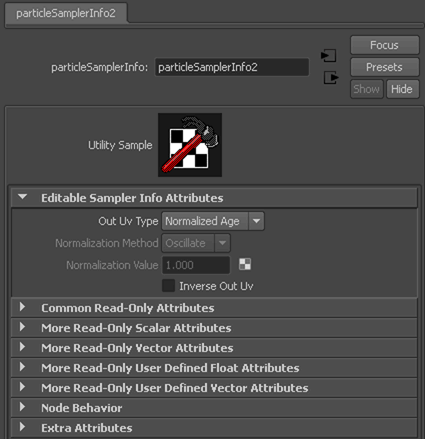
Depending on the particle attribute you use to drive the shader attribute, Maya either displays the new Particle Sampler Info node in the Attribute Editor or the Connection Editor.
In the case of color, transparency, and incandescence, Maya displays the node in the Attribute Editor and automatically makes the following default connections:
Other attributes display the Connection Editor with the Particle Sampler Info node on the From side and the shader on the To side.
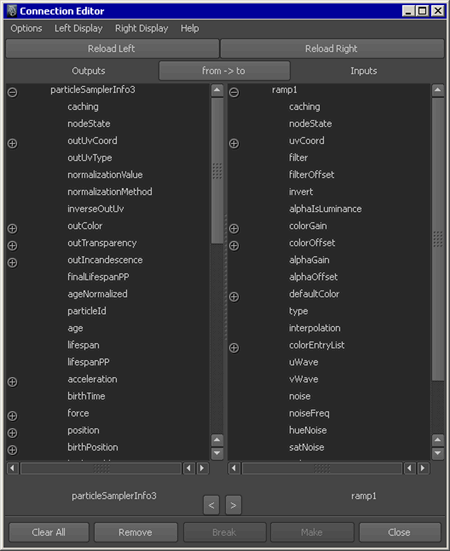
The connection between the particle shape and the Particle Sampler Info node is implicit— you don’t actually make it. The only connection you make is between the Particle Sampler Info node and the shader.