Creating a scoped UDA for a project, user, or composition can be done in one of two ways: through the metadata tab in the Tool Details, Project Preferences or User Preferences, or with the XML editor. If you're using the XML editor, you must specify a UDA in the XML file associated with the given data type. Each UDA in the XML resource file will be created automatically in the database, if not already present, when the XML file is loaded—see XML Resource Files.
To create a UDA using the Metadata tab:
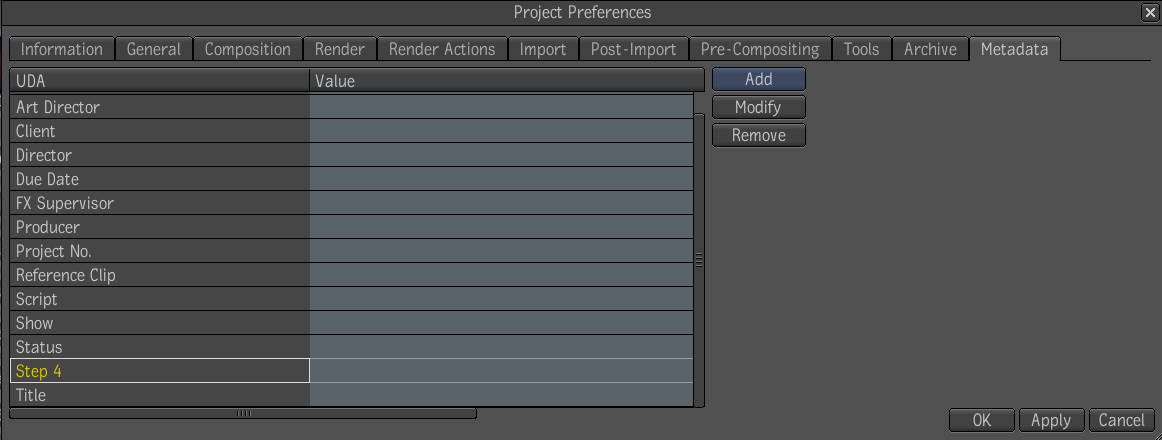
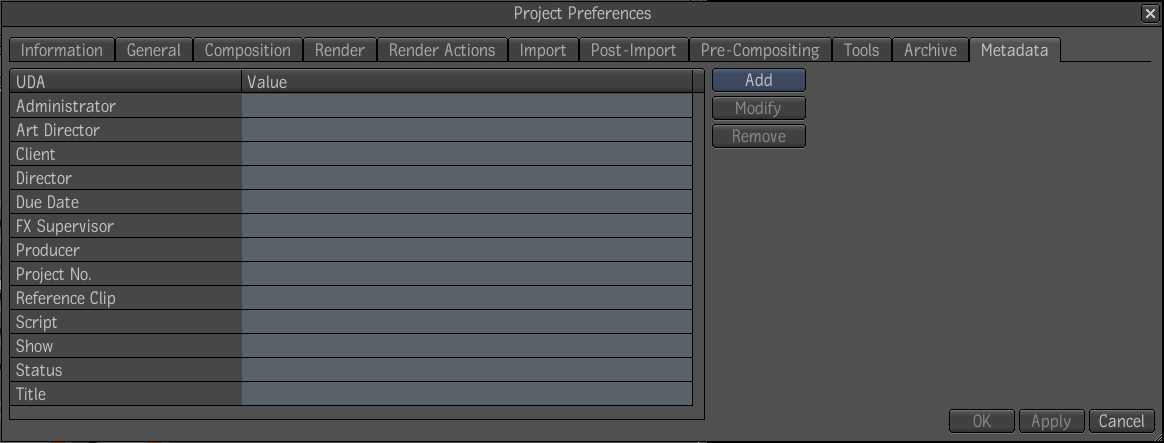
This will reveal a list of user defined attributes. You will now be able to add, remove or modify UDAs in your project.
You can add information to each of the UDAs by clicking in the value field next to the UDA.
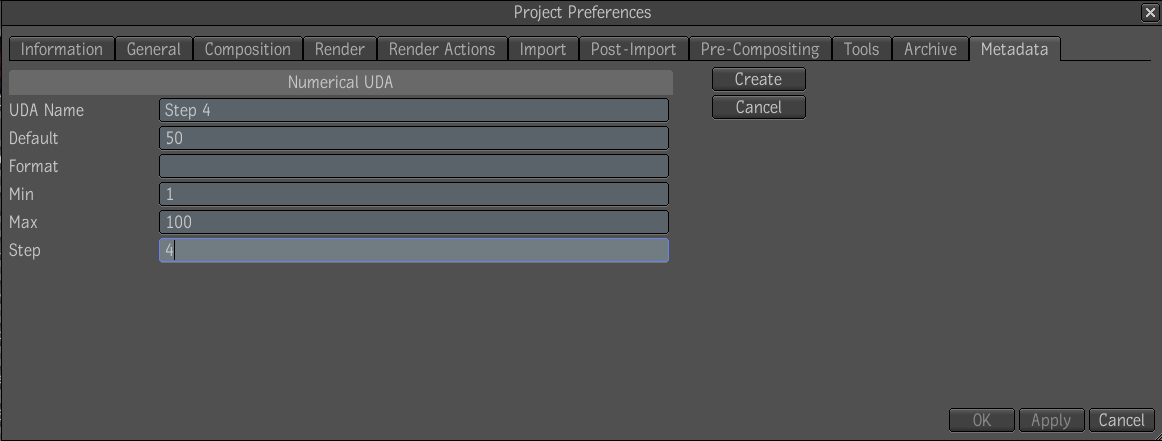
Add button — clicking this button reveals four selections: Toggle, Menu, Numerical and Text.
Modify button — clicking this button modifies the information in the UDA field.
Remove button — clicking this button disables the selected field and removes it from the list of UDAs, but not from the Metadata tab. If you remove a pre-created UDA, the control associated with that UDA in the Metadata tab will be disabled.


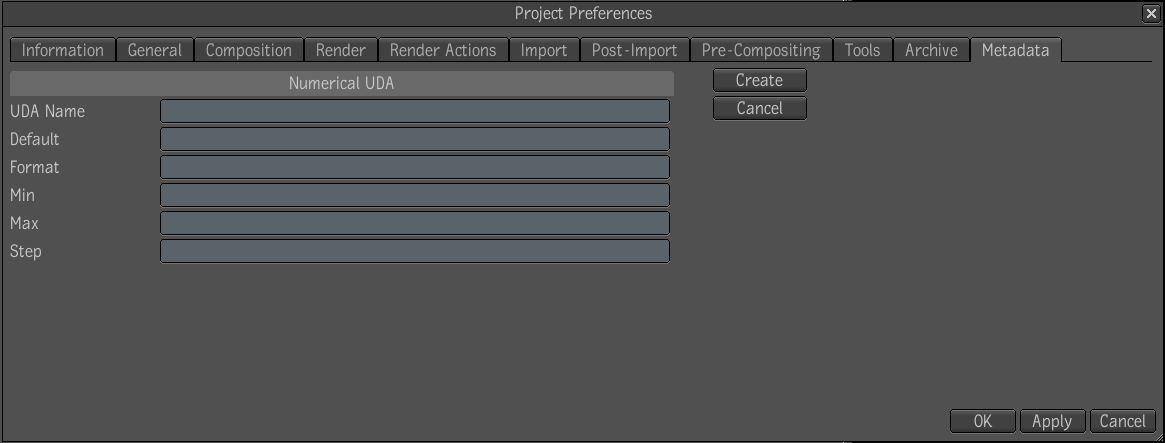

Create — implements the changes.
Cancel — cancels the changes and brings you back to the list of UDAs.
Once you have completed your changes, they will be visible in the original list of UDAs.