The Macro super tool lets you design your own tool. You can drag tools from the Tools tab directly into the Macro super tool in order to customize it for your composition.


On the left side of the tab, the Customize UI button allows you to customize the Tool UI. The Customize UI button is enabled once you are in edit mode.
Just above the Customize UI button, there are six more buttons. Once you have added tools to the Macro super tool, you can assign each of these buttons to a tool. Select a tool in the Schematic and then click a button while holding down the Ctrl key to assign it to a tool.

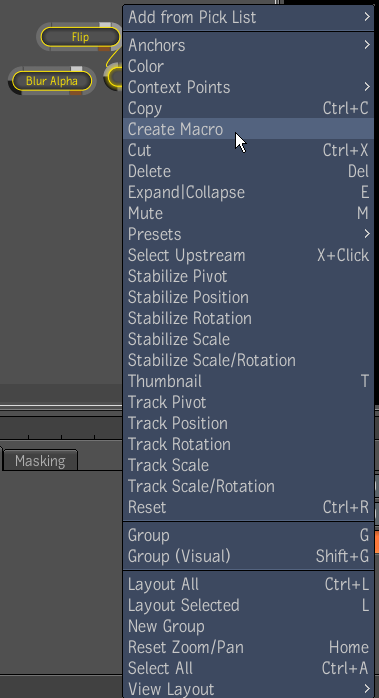
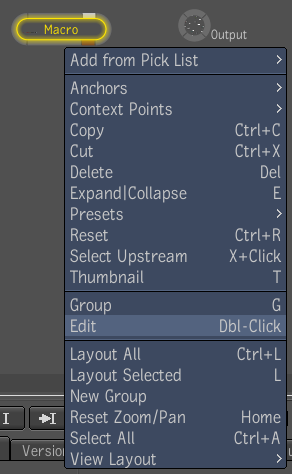
In order to customize the Macro super tool, you must be in edit mode. Right-click on the Macro super tool and select Edit or double-click on it. This allows you to enter the Macro super tool.
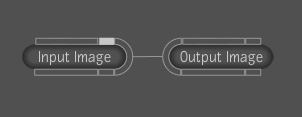
Once inside the Macro super tool, what you see will depend on whether you connected the tool to a dependency graph or not. If the Macro super tool is not connected to a dependency graph, you will see an input and an output image, which are simply placeholders that represent the Macro's potential connections outside of edit mode. If the Macro super tool is connected to a dependency graph, then the two nodes that it is connected to will be displayed instead of the input and output images.
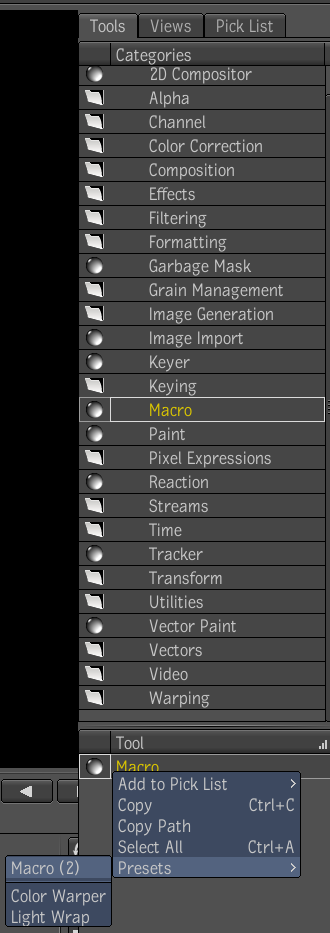
Next, you can decide what tools you want to add to the Macro super tool. Open the Gate UI and swipe to the east to open the Tools tab. Now you can drag tools from the Tools tab directly into the Macro super tool.

You'll notice that when you click on any of the tools you've added to the Macro super tool, the tab corresponding to the tool in the Tool UI will specify that it is part of the Macro super tool.

To customize the Macro super tool:


You can do that by dragging and dropping tool inputs from the Macro sub-menu of the Composition view into the Tool UI of the Macro super tool. As you drag tool inputs into the Tool UI, either a green arrow or a red x will appear, indicating whether it is possible to drag the input into the Tool UI or not.


You can add as many inputs as you like, however if there are too many inputs, some of them will be hidden at the bottom of the pane.

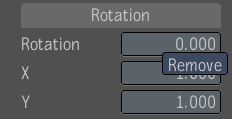
You can remove an input at any time by right-clicking it and selecting Remove.
You can rename an item by double-clicking its name and entering a new name in the field.


You can access this preset through the Tools menu. Middle-click your mouse or press the tilde key (~) to open the Gate UI, then swipe to the east to open the Tools tab. Select the Macro super tool. In the lower menu, right-click the Macro super tool and select Presets.
To use a preset in a composition, click it and drag it into the Schematic view.


