


Learning Resources > Tutorials > Getting Started with Maya > Dynamics > Lesson 1: Particles, emitters, and fields >
Adding color to particles with a color ramp
A ramp texture is a patterned 2D image in which the color blends from one shade to another. In the next steps, you use a color ramp to color the particles as they age.
To add color to particles using a color ramp
This causes a default color ramp to color the particles as follows:
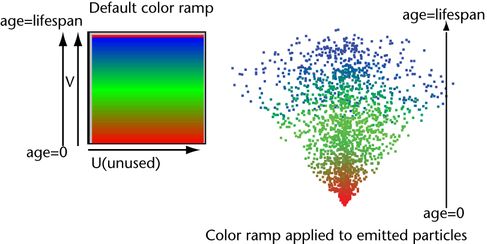
As each particle ages from its time of birth (emission), its color changes according to the ramp’s color in an upward vertical (V) direction. The horizontal (U) direction of the ramp’s color is unused in this lesson.
When you create the ramp, Maya adds a lifespan attribute and sets it to 1 second, by default. Each particle changes from red to green to blue over its lifespan of 1 second. The particle then disappears (dies).
This enables you to see the colors of the particles the next time you play the animation.
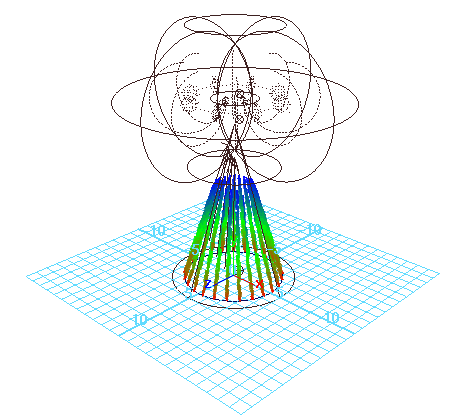
This is because the Lifespan is set to the default of 1, which is the number of seconds the particles exist in the animation.
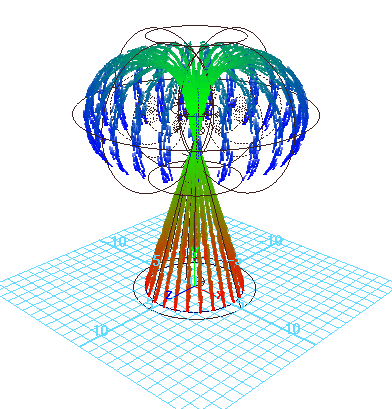
Because the particles live longer, they pass all the way through the cone and part of the way through the torus. The particles change from red to green to blue and disappear as they are born, age, and die.