In this section, you will use Hardware Shade to render a scene, and create shaders for the caps, bottles and labels.

Watch Part 1 of the tutorial.
 to open the File Browser.
For information on how to open a file, see Opening the tutorial file.

A dialog box appears, asking if you want to delete all objects, shaders, views, and actions. Click Yes.
If your values for construction tolerances differ from those in the Render_Basics.wire file, you are presented with a dialog:

Click Accept New Settings to use the construction tolerances in Render_Basics.wire.
The file is opened. The scene has two shower gel bottles in different positions, one with the cap open, and one with it closed.

When setting up a model to be rendered, it is useful to work interactively with a rendered view. For this exercise, you will use Hardware Shade to work directly on a shaded scene.

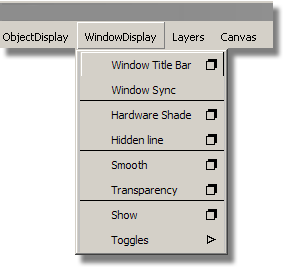

The bottles are now visualized using the Hardware Shading.
The bottles are using the Default shader, which has the Blinn shading model. There are four types of shading model in Alias:
As you gain more experience with shaders, you will understand which Shading Models will produce the results you want.

Next, you will create three new shaders one for the bottle, cap, and label. After that, you will choose the right shading model for each one.
Using the Visualize Control Panel
For this part of the tutorial, you will use the Visualize Control Panel to create and modify shaders.

The Default Shader is shown in the Resident Shaders section.

If the name of the Default Shader is not shown underneath the grey shader ball, you can turn on the icon labels in the General Preferences.
 ❒ to open the preferences window.

The Resident Shaders section in the Visualize Panel now shows the name of the Default shader underneath the shader ball icon.

It is good practice to not use or modify the default shader, as you will copy it to create new shaders.
So first, you will create a shader for the bottle.
Below
the resident Shaders section, there are four icons. Click the Copy
Current Shader  icon to create a shader.

The default settings are shown.


Now, you will choose a color for the bottle.

Click the grey color chip to open the Color Editor.
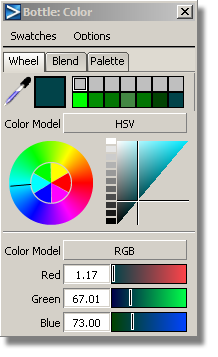
The color chip updates, and the Bottle shader shows the new color.

Now, you will Assign the new shader to the bottle surfaces.

All the bottle surfaces are selected.


The bottle surfaces are now shown in the new shader color.

Now, you will repeat this process for the cap shader.
tool to create a second
new shader.
Change the Shader Name to Cap and the Shading Model to PHONG.
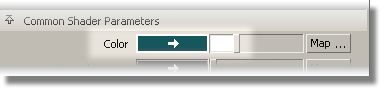
In the Common Shader Parameters section, choose a color for the cap.

Now, you will assign the shader to the cap surfaces.
 icon in the Visualize
Panel.
icon in the Visualize
Panel.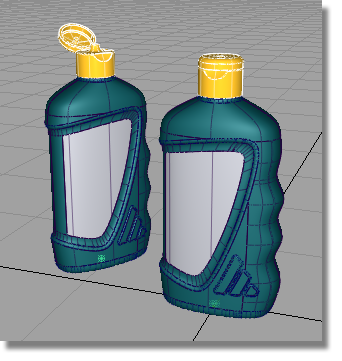
A small bright highlight appears on the caps illustrating a glossy plastic material.
 to de-select the label surfaces.
Modifying Shaders in the Visualize Panel
The most common parameters for a shader can be accessed in the Visualize Panel.
Now, you will give the cap a more shiny appearance, and the bottle a softer finish.

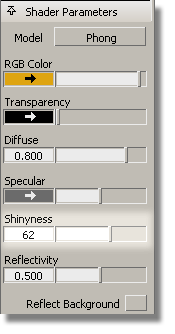
The cap material should look more shiny.

The two images below show the changes you will see in the materials.

Now, you will save the scene as a new file.
 to open the File Browser.


 to see the changes more
accurately.
to see the changes more
accurately.