In this section you will create a primitive object, a cylinder, for the base of the desk lamp.
 Watch Part
1 of the tutorial.
Watch Part
1 of the tutorial.
Primitives are ready-made objects in familiar shapes. The primitives are made from a single surface, or a group of surfaces that form an enclosed volume.
In Alias, you can create the following primitives:
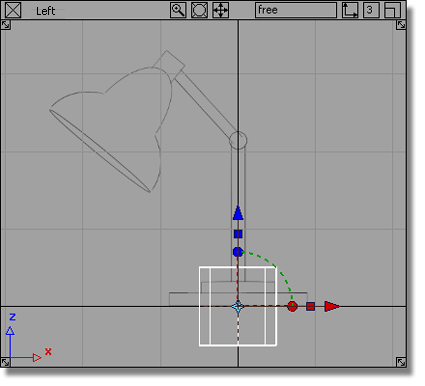
Now create a cylinder for the base of the lamp stand.
Maximize the Top view.
 from the palette. If the
palette is not open, choose Windows > Palette
from the palette. If the
palette is not open, choose Windows > Palette  from the menu bar.
To choose the Cylinder tool, press and hold the mouse button, so the cursor is over the Sphere icon until the entire Primitives drawer appears.
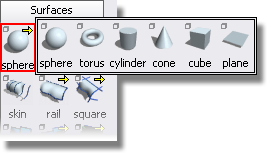
Then, click the Cylinder icon to choose the Cylinder tool.
The Cylinder tool is displayed in the Surfaces palette, and is outlined in red to indicate it is the active tool.
Hold down the  (Windows) or
  (Mac) key to turn on grid
snap mode.
(Mac) key to turn on grid
snap mode.
Press
and hold the (Windows) or (Mac) key near the origin.
Keep your finger held down on the (Windows) or (Mac) key and move the mouse
until the new cylinder snaps to the correct grid point.

Release the (Windows) or (Mac) key and the mouse
button.
 or press the F9 key
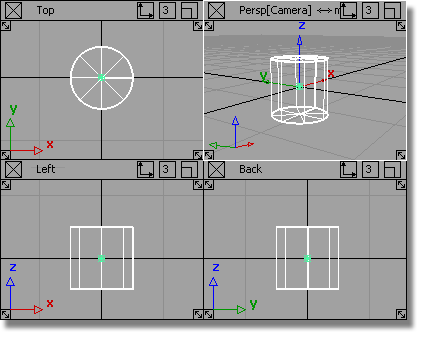
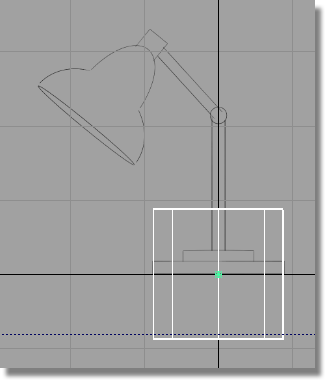
to display all four views, and check that the cylinder has been
placed correctly, as shown.
or press the F9 key
to display all four views, and check that the cylinder has been
placed correctly, as shown.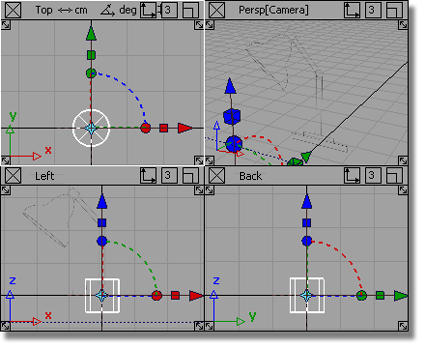
The cylinder remains picked, or active. Picked objects are drawn with white lines, and objects that are not picked are drawn with dark blue lines. Most tools and commands work on picked objects. Since the Cylinder is picked, any tools or commands you choose will be applied to it.
 key.
key.
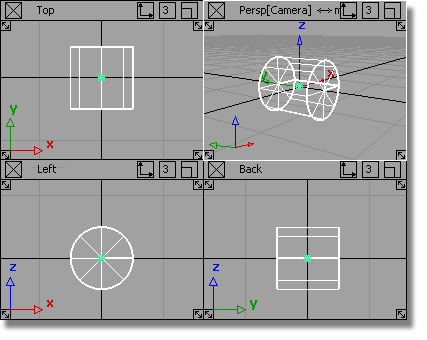
Next scale the cylinder to the correct size.
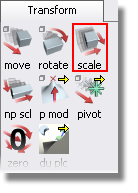
The Scale icon is outlined in red to indicate it is the active tool. At the same time, the cylinder’s manipulators disappear.
 to scale the cylinder equally
in all axes.
to scale the cylinder equally
in all axes.
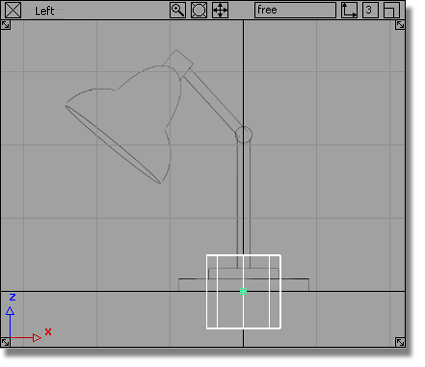
Scale the cylinder to roughly fit the width of the bottom cylinder shown on the sketch. This forms the base of the lamp.
The Transform > Non-p Scale ![]() tool (non-proportional scale)
modifies the x, y or z scale of an object separately. This allows
an object to be stretched or squashed.
tool (non-proportional scale)
modifies the x, y or z scale of an object separately. This allows
an object to be stretched or squashed.

The mouse buttons are used to control the non-proportional scaling. For this section, use the 2D views (Top, Side, and Back) to control the transforms. In these views, the mouse buttons work as follows:
Next use the  to adjust the vertical height
of the base.
to adjust the vertical height
of the base.
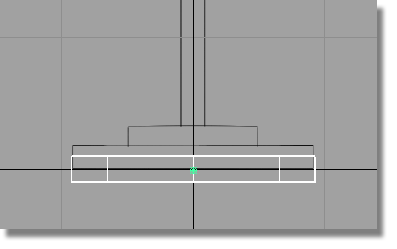
to adjust the height of
the cylinder. Make the height approximately the same as shown in
the sketch.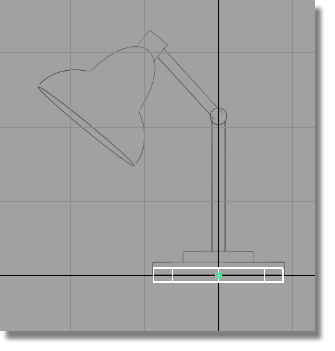
Later, you will line up the cylinder to the grid line, to make the lamp base sit on the ground.