You will now complete the MP3 Player design by duplicating the control buttons, and moving all the buttons into the correct position on the front casing.
Opening the tutorial file (optional)
If you successfully completed Part 6, you can proceed directly to the next step: Creating Four Buttons below.

If you were not successful in part 6, open the file called MP3Player_part7.wire, located in the wire directory of the CourseWare project. This file contains the completed model from Part 6.

Watch Part 7 of the tutorial.
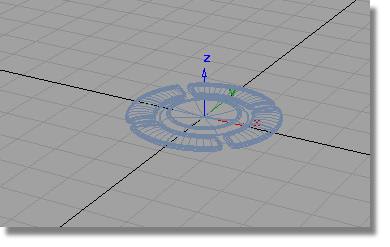
First, you will rotate the half-button into the correct orientation, and then mirror the surfaces to create one full button.
 and select all the surfaces.
 to group them all , with
a single pivot point at the origin.
to group them all , with
a single pivot point at the origin.
You will be asked about losing construction history, answer Yes.

 ❒ and select the YZ plane
to Mirror Across.
❒ and select the YZ plane
to Mirror Across.

and select both halves of
the button.
to group them as a single
button.
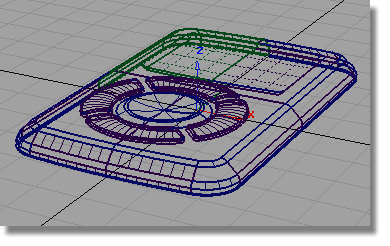
You now have one complete button, in the desired orientation, so now you will create three additional buttons.
Choose Edit > Duplicate > Object  ❒
❒
First, click the Reset button at the bottom of the option window. This will restore all the default settings.
Then set the Number of duplicates to 3, and the Rotation to 90 degrees in the z-axis.

Click Go to create the duplicates.
The four buttons are created.


Now you will move the buttons into their correct location, centered on the lower part of the Front Casing.

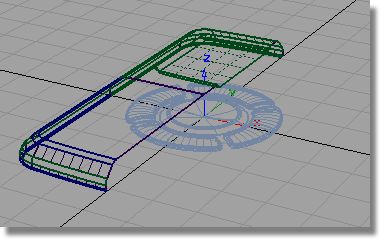


 and use curve snap (
  and
and  (Windows) or
  and
and  (Mac) keys) to place the
curve along the edge of the casing.
(Mac) keys) to place the
curve along the edge of the casing.

You will now use the center keypoint on the new line to position the buttons.


and select all the buttons.
(Windows) or (Mac) key) to position the
keys on the center Keypoint of the line.
You will be asked if you want to delete construction history: answer YES.


 .
.
The mirrored geometry is no longer shown in dotted lines, and can be modified independently.