


Add Materials to the Deck:
Texture Mapping and Bump Mapping
Bitmaps are a simple but versatile way to add visual detail to scenes. When a bitmap is used to provide an object’s color, it is also known as a texture map. In this lesson and the ones that follow, you apply bitmaps to various parts of the scene (the deck, the terrain, the vase, the bottom of the swimming pool, and the arbor trellis on the upper porch of the house) to achieve realistic effects. Different kinds of geometry require different techniques of mapping, as these lessons will show.
Create the wooden deck material and apply it:
 click to select the Wood-Deck object.
The Wood-Deck overlies the Terrace object, so you might have to move the mouse around till you see the name Wood-Deck in a tooltip. Don’t select the Terrace at this point. If you have trouble finding Wood-Deck with the mouse, press H and select Wood-Deck in the Select From Scene dialog.
 Slate Material Editor, drag
another Arch & Design material from the Browser to the active
View. Double-click the new node so you can see its parameters, and
name this material Wood - Deck.
Slate Material Editor, drag
another Arch & Design material from the Browser to the active
View. Double-click the new node so you can see its parameters, and
name this material Wood - Deck.
The default Glossy Finish is a bit too glossy, so you will tone it down.
 Reflection group, change
the value of Reflectivity to 0.3 and the
value of Glossiness to 0.7.
Reflection group, change
the value of Reflectivity to 0.3 and the
value of Glossiness to 0.7.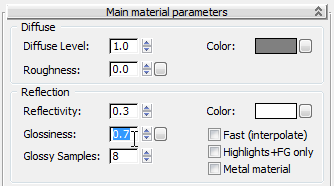
Standard group.)
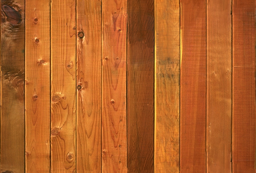
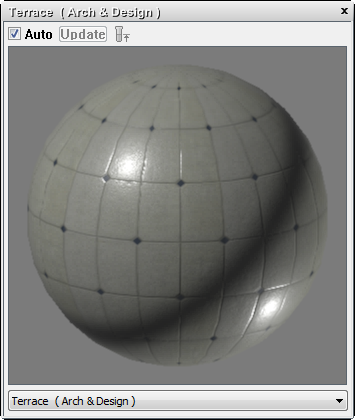
Cedar texture for the wooden deck
 (Assign Material To Selection).
 (Show Standard Map In Viewport)
to turn it on.
(Show Standard Map In Viewport)
to turn it on.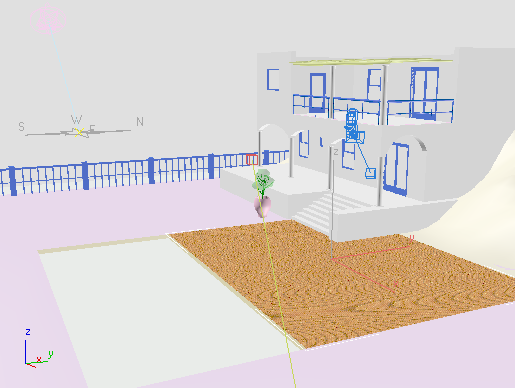
Now the Wood-Deck object shows a pattern in the shaded viewports. However, the pattern is rather scrambled and is not quite the effect we’re looking for. To improve the appearance of the wooden deck, you’ll adjust how the material is mapped.
Size to 3.0m (meters)
and the value of Height Size
to 2.0m (meters).
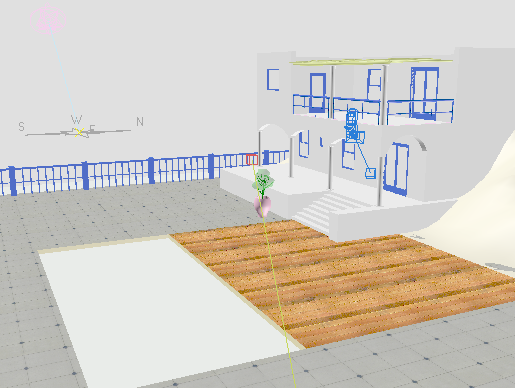
Now the cedar flooring is scaled to the scene correctly.

 (Move Children), line the Wood
- Deck nodes up with the other materials you’ve already
created, then minimize the material node.
(Move Children), line the Wood
- Deck nodes up with the other materials you’ve already
created, then minimize the material node.
Create the tiled terrace material:
For the tiled portion of the terrace, you also use a texture map, this time in conjunction with a bump map.
Once again, the default Glossy Finish is a bit too glossy, so you will tone it down.
Reflection group, change
the value of Reflectivity to 0.3 and the
value of Glossiness to 0.5.
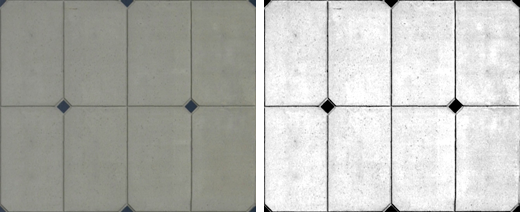
Left: Pattern bitmap for the deck tiles
Right: Bump map for the deck tiles (see below)
For the tiling on the terrace, you will use both a texture map, tile-cast.jpg, and later add a bump map, tile-cast-bump.jpg. But the first thing to do is to apply the material and adjust its mapping.
(Show Standard Map In Viewport)
to turn it on.
In the shaded viewports, the terrace turns gray, but it doesn’t display the tile map the way the deck displayed the wood grain. This is an indication that there is another step you must take.
The Wood-Deck object is a Box object. Like other boxes and all other standard primitives, it already has default mapping coordinates. The Terrace object, on the other hand, is an editable mesh. Editable surfaces such as mesh, patch, and poly do not have default mapping coordinates, so you must add a modifier that supplies these coordinates. This is the subject of the next procedure.
Select the Terrace object,
then go to the  Modify panel.
The Modify Panel now displays controls for the UVW Map modifier. Also, a version of the tile texture map is now visible in shaded viewports.
Parameters rollout Mapping group, make sure Real-World Map
Size is turned on.
Real-World Map Size in the map coordinate settings and Use Real-World Scale in the UVW Map modifier settings should either both be on or both be off at the same time.
The viewports now show tiling on the terrace, but the pattern is muddled. This is because you need to set the size of the tiles.
Size
to 3.0m and the value of Height Size to 2.0m.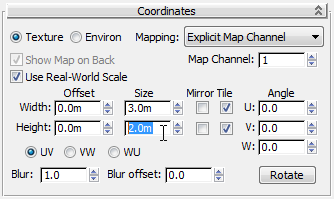
Now the tiling pattern on the terrace is nicely matched to the rest of the scene.
There is one small problem, however: The edges of the tiles don’t match the edge of the swimming pool. You can fix this by adjusting the tiling offset.
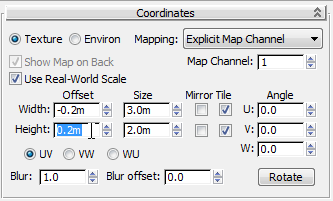
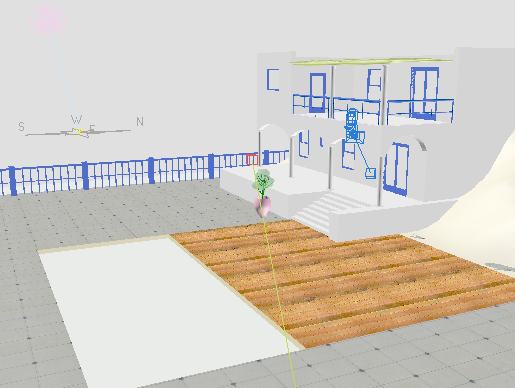
Now the tiles are aligned with the pool.
Add bump mapping to the terrace tiles:
Bitmap.
The UVW Map modifier belongs to the object: It affects both the texture map and this new bump map equally. However, you must also make sure that the bump map’s own mapping coordinates are the same as the texture map’s: Otherwise, the bump effect will be “out of phase” with the texture, and won’t appear correctly.
The bump effect is subtle, and it doesn’t appear in viewports, so to see it, use a preview.
 render the scene.
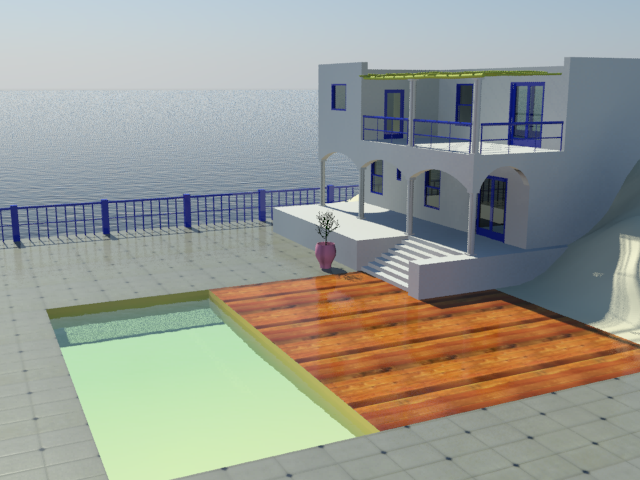
 open
open