


In this lesson, you will choose a tree from the 3ds Max library of ready-made plant objects and edit its material to resemble an elm in spring. You will save this object as a .tif image, ready to be projected onto the billboards of your particle system.
 (Render Setup).
 Common panel Common Parameters rollout Output Size group, set Width and Height to 512.
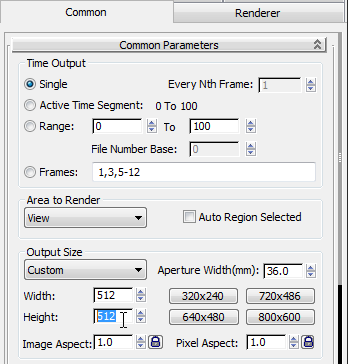
Each particle, or billboard, you generate from the particle system will be perfectly square, so the resolution of the map you want to use for the tree must be square as well.
A value of 1024 x 1024 or even higher is permissible, but the higher the resolution, the longer it will take to render the particle trees.
 Close the Render Setup dialog.
 Create panel, click
  (Geometry). Open the Objects drop-down list, and choose AEC Extended.
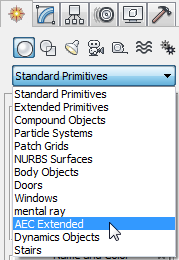
Position the tree so it will render as a well-behaved billboard:
 (Zoom Extents).
The safe frame displays as a yellow square, indicating the extent of the rendering area.

Perspective view with the safe frame displayed
 (Pan) and
  (Zoom) to reposition the tree until it fully occupies the safe area.
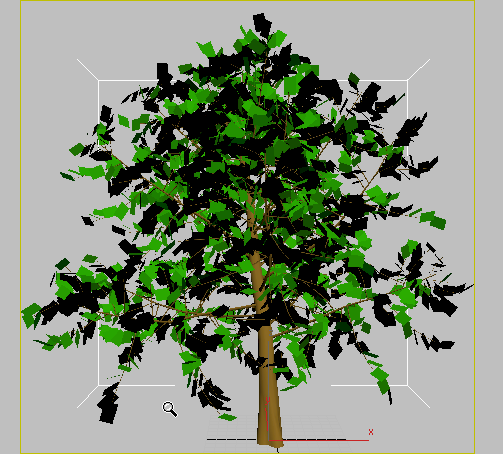
Tree repositioned to fill the safe area
Now you need to make sure the base of the tree trunk is centered precisely at the bottom midpoint of the frame. In doing so, you ensure that the trunk of this tree will be aligned with the tree shadow that you’ll derive from this image.
Safe Frames panel Setup group, turn off User Safe Lock, then turn on User Safe. 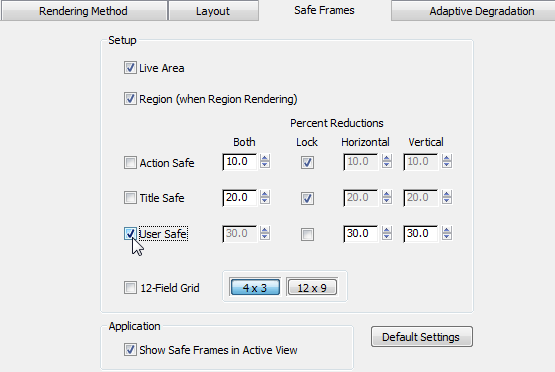
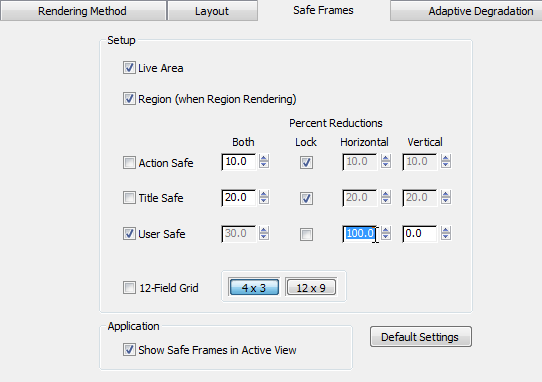
A purple vertical guide line displays in the viewport safe area. (This guide line is actually a rectangular safe-frame area that has no width.)
User safe area that acts as a guideline for centering the tree in the frame
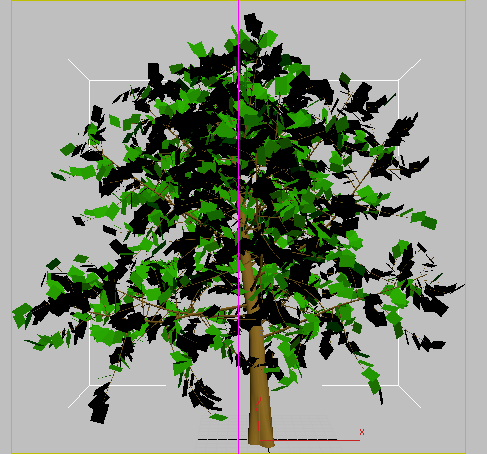
 Move the tree along its X axis until the center of the trunk base is aligned with the purple line.
The next procedure shows how to replace the tree with another one that might be more to your liking.
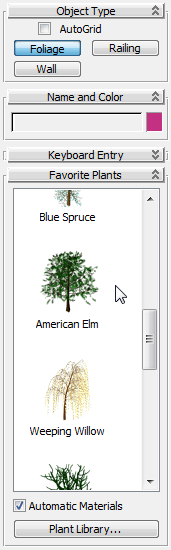
Find a tree configuration that you like:
 Modify panel. On the Parameters rollout, click the New button to the left of Seed until you see a tree you prefer.
  move the base of the tree along its X axis until it is aligned with the center line of the safe frame again.
This time, also make sure the tree base extends slightly below the bottom edge of the safe area. This will cause the particle tree to slightly sink in to the emitter object and form a solid connection with the ground. Also, make sure no leaves or tree branches extend beyond the safe area.
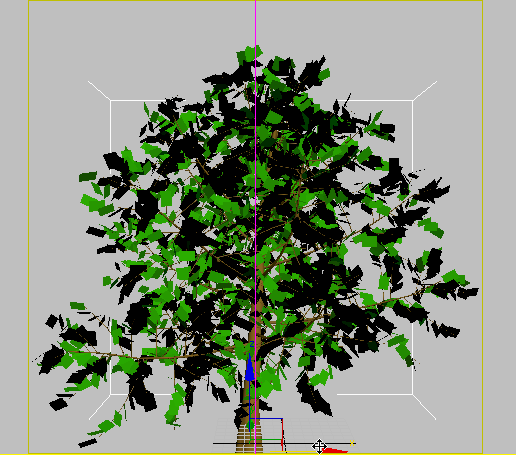
Base of the tree repositioned so it extends slightly into the safe area
Gamma/LUT Setup.
Turn on both options in the Materials and Colors group as well: Affect Color Selectors and Affect Material Editor.
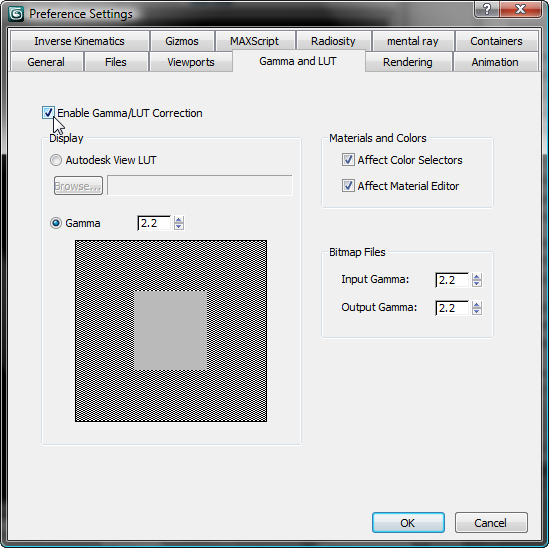
Adding gamma correction improves the appearance of renderings.
 (Render Production).
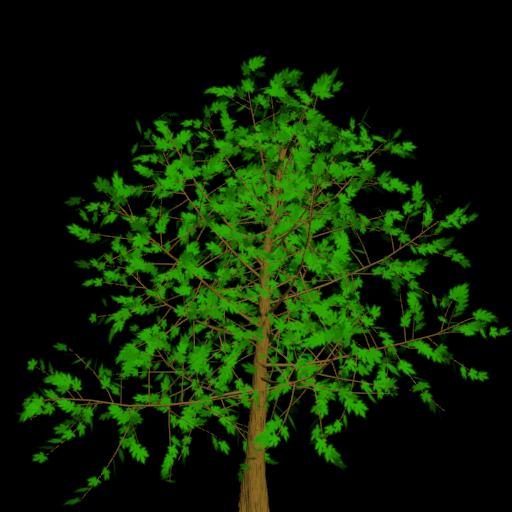
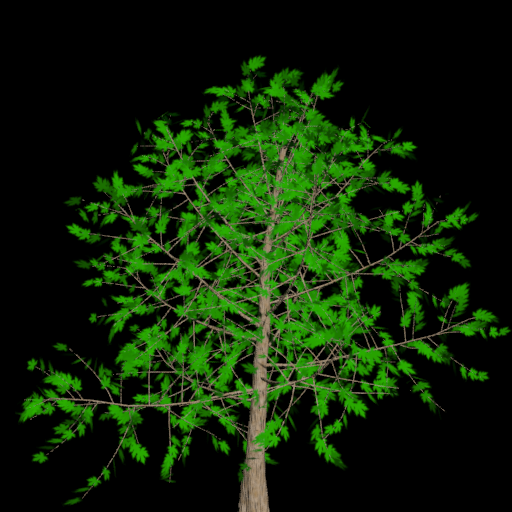
3ds Max renders the tree using the default render settings. The trunk color is not realistic, and the leaves are too uniform in color. To correct this problem, you will change their material diffuse values.
Change the material of the trunk:
 Slate Material Editor.
 (Pick Material From Object), then in a viewport, click any part of the tree.
3ds Max displays the BasicElm material in the Slate Material Editor active View.
 (Zoom Extents).
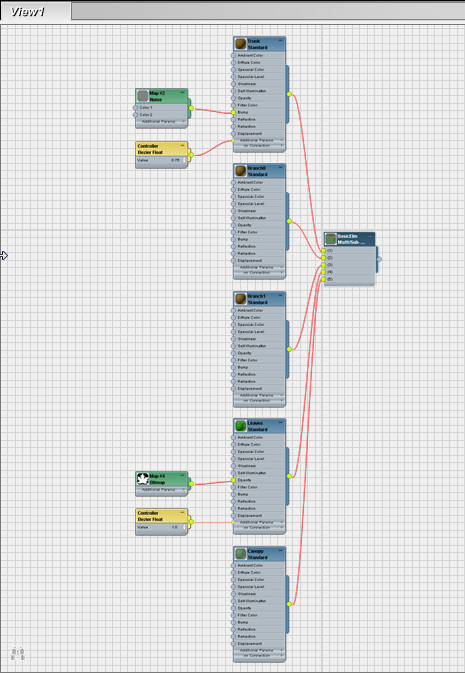
The material tree looks complicated because BasicElm is a Multi/Sub-Object material, but it really is not as complicated as it looks.
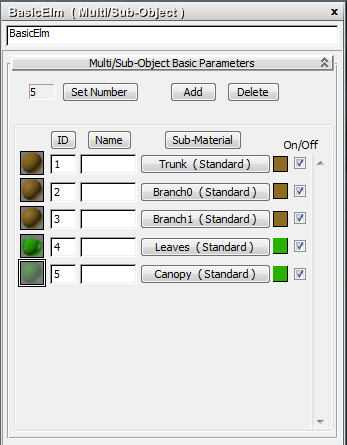
The Multi/Sub-Object Basic Parameters rollout shows how the BasicElm material contains five sub-materials, assigned separately to the trunk, branches, and leaves.
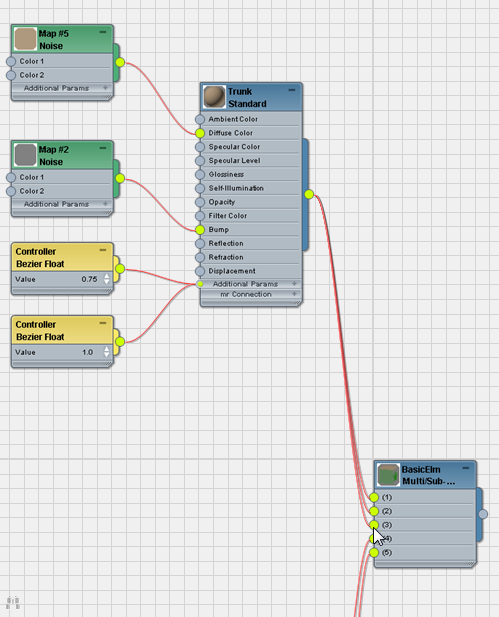
Now you will change the Diffuse values of the Trunk sub-material to improve the appearance of the tree trunk.
 (Zoom Extents Selected), and then
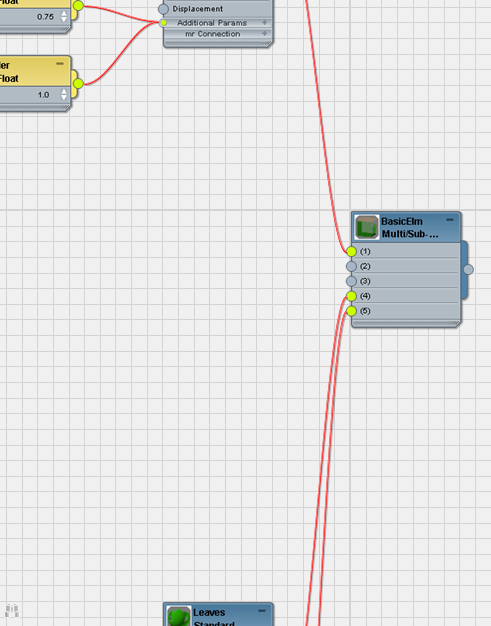
  pan out in the View a bit so you can see the Trunk material node and the map and controller already assigned to it. When you’re done, right-click an empty area of the View
to return to selection mode.
pan out in the View a bit so you can see the Trunk material node and the map and controller already assigned to it. When you’re done, right-click an empty area of the View
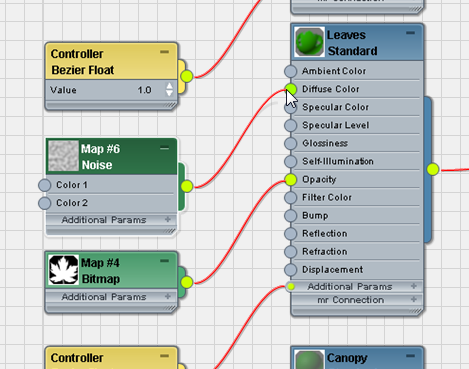
to return to selection mode. 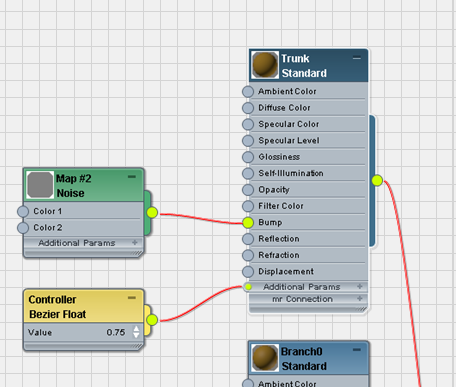 Standard group), drag this entry into the active View, and then wire it to the Trunk sub-materials Diffuse Color socket.
Render the tree to see the result:
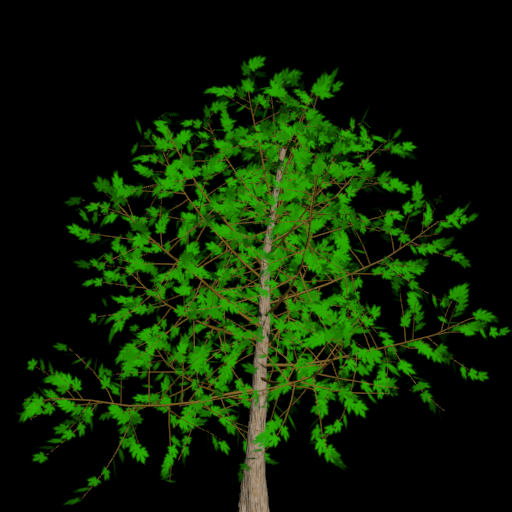
With lighter, noise-mapped colors, the trunk looks more convincing and also more elm-like.
Next, you will copy the diffuse values of the trunk to the branches.
Use the new Trunk submaterial for the branches:
Pan downward in the View so you can see the Branch0 and Branch1 nodes. When you have finished panning, right-click an empty area of the View to return to selection mode. 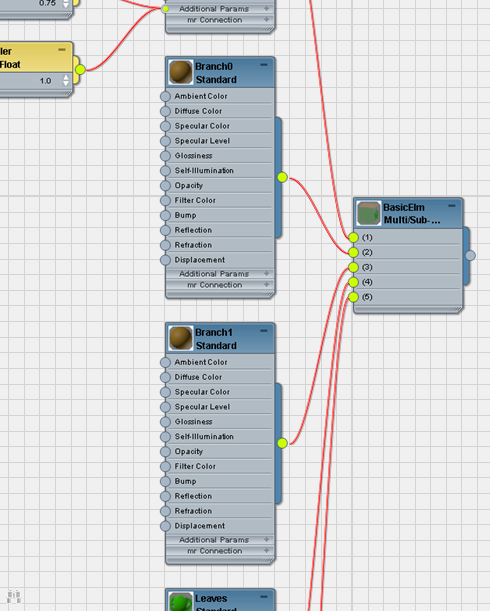
With only three sub-materials, the material tree is simpler than it was.
Now all the branches match the trunk, as you can see if you render the Perspective viewport again.
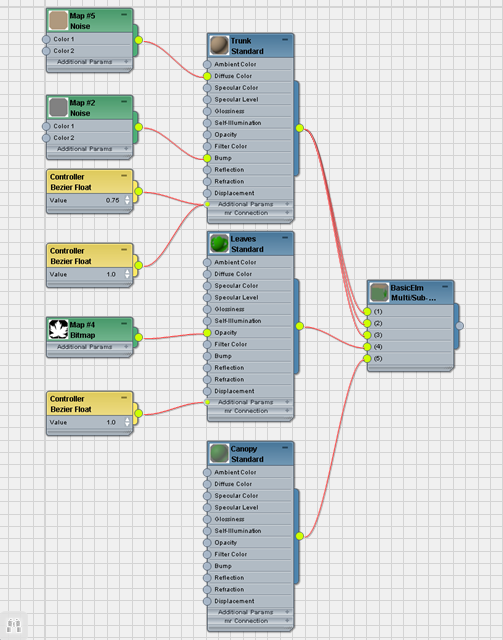
Change the material of the leaves:
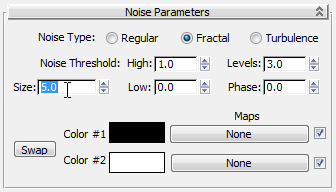
 High value to 0.7 and the Low value to 0.3.
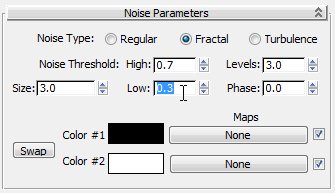
These values will increase the level of sharpness between the two colors you are about to choose.
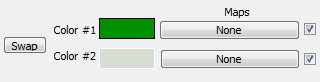

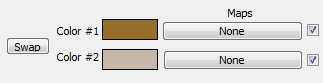
Notice how the two-color combination makes for more realistic leaves.
 (Display Alpha Channel) to view the alpha channel of the tree object in the rendering.
Alpha channel of the tree object rendering
The alpha information provides the shape of the cutout for the particle trees you will generate later.
Now you now need to save the tree to an image file format that includes alpha information.
 (Display Alpha Channel).
Save the “billboard” image of the tree in spring foliage:
 (Save Image).
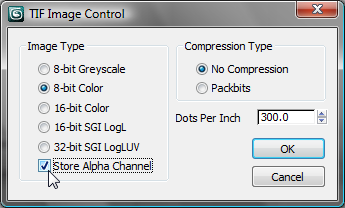
3ds Max opens the TIF Image Control dialog. In the Image Type group, make sure that 8-Bit Color is chosen, and Store Alpha Channel is on.
The particle system you create in the next lesson can use this tree image to populate a forest. To introduce some variation to the scene, you will create a second tree image to be referenced by the particle system as well.
Create fall foliage for the tree, and save that image:
Modify panel Parameters rollout, click the New button to the left of Seed.
 move the tree trunk along its X axis again so it is properly centered on the vertical midpoint of the safe area.
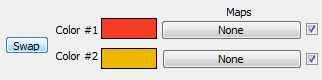

Tree object with fall-like parameters
By reducing the number of leaves and adjusting the leaf colors, you have created a tree that is suited to a fall scene.
At this point, you could create as many different sizes, leaf density, pruning level, colors, and species of trees as you like to be referenced by the particle system. In this tutorial, however, you already have a dozen tree types made for you, sufficient to create a convincing-looking forest.