In most cases, before you can perform an action on an object or objects in your scene, you must first select them. Thus, the act of selection is an essential part of the modeling and animation process.
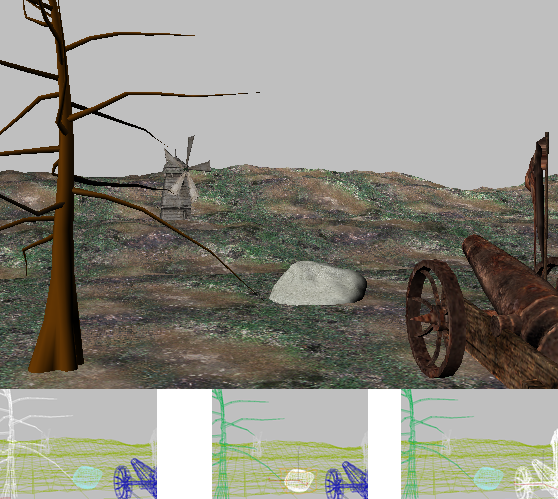
A battlefield scene
Below: Different selections in a wireframe viewport
3ds Max provides you with a variety of selection tools, which are covered in this chapter. Besides the basic techniques of selecting single and multiple objects using mouse and keyboard, the topics here discuss the use of named selection sets and other features that help you manage object selection, such as hiding and freezing objects and layers. Also included is an introduction to sub-object selection, essential to working with an object’s underlying geometry.
Lastly, a technique for grouping objects is presented. Grouping lets you create more permanent selections that have many of the characteristics of independent objects.
3ds Max is an object-oriented program. This means that each object in the 3D scene carries instructions that tell 3ds Max what you can do with it. These instructions vary with the type of object. Because each object can respond to a different set of commands, you apply commands by first selecting the object and then selecting the command. This is known as a noun-verb interface, because you first select the object (the noun) and then select the command (the verb).
The most basic selection techniques use either the mouse, or the mouse in conjunction with a keystroke.
The region-selection tools let you use the mouse to select one or more objects by defining an outline or area.
The Select By Name command opens the Select From Scene dialog, which lets you select objects by their assigned names without having to click in the viewports.
You can assign a name to the current selection, and then later reselect those objects by choosing their selection name from a list.
You can use the Selection Filter list on the main toolbar to deactivate selection for all but a specific category of object. By default, all categories can be selected, but you can set the Selection Filter so that only one category, such as lights, can be selected. You can also create combinations of filters to add to the list.
Track View provides sophisticated methods to edit your animation tracks. In addition, its Hierarchy list displays all objects in the scene by name and hierarchy. Using Track View, you can select any object in the scene by clicking its object icon in the Hierarchy list.
Schematic view is a window that displays the objects in your scene in a hierarchical view. It gives you an alternate way to select and choose the objects in your scene and navigate to them.
You can freeze any selection of objects in your scene. By default, frozen objects, whether wireframe or rendered, turn a dark gray. They remain visible, but can’t be selected, and therefore can’t be directly transformed or modified. Freezing lets you protect objects from accidental editing and speeds up redraws.
You can hide any selection of individual objects in your scene. They disappear from view, making it easier to select remaining objects. Hiding objects also speeds up redraws. You can then unhide all objects at once or by individual object name. You can also filter the list contents by category, so only hidden objects of a certain type are listed.
You can hide objects by category, the basic types of objects. For example, you can hide all lights in your scene at one time, or all shapes, or any combination of categories. By hiding all categories, your scene appears empty. Hidden objects, while not displayed, continue to exist as part of the geometry of your scene but cannot be selected.
The Isolate Selection tool lets you edit a single object or selection set of objects while hiding the rest of the scene on a temporary basis. This guards against selecting other objects while working on a single selection. It allows you to focus on the objects you need to see, without the visual distraction of the surroundings. It also reduces the performance overhead that can come from displaying other objects in the viewports.
This is a general introduction to sub-object selection. For specific information, see Editable Mesh, Editable Patch, Editable Poly, and Editable Spline; for a discussion of NURBS sub-object selection, see Sub-Object Selection.
Selection commands appear on the quad menu, on the main toolbar, on the Edit menu, and on the status bar.
These commands on the Edit menu are for basic edit manipulations of selections.


