A shape is an object made up of one or more splines. A spline is a collection of vertices and connecting segments that form a line or curve. By moving the vertices and adjusting their settings, you can reshape the line and make portions of it curved or straight. You can use a shape as the basis for other objects and as a path for animation.
The term spline comes from the name of a thin strip of wood or metal used for drawing curves in architecture and ship design.
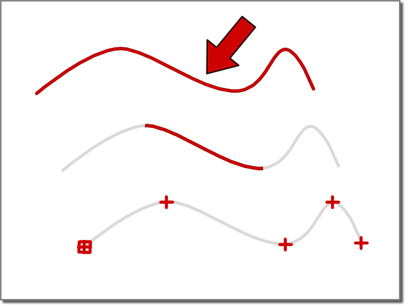
Top: Spline
Middle: A segment of the spline
Bottom: Vertices of the spline
Shapes don't usually appear in the rendered scene. They're used for the following purposes:
You can make shapes renderable to create tubular forms in the rendering. Renderable shapes don't appear any different in viewports.
Shapes can also be NURBS curves. You can use NURBS curves in exactly the way you use spline-based shapes. You can also use a NURBS curve as the basis for a NURBS model that includes multiple curve and surface sub-objects.
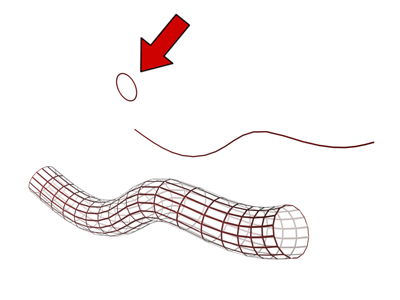
A circle is lofted along a path to construct a tubular shape. Get Shape chooses the contour spline.
You use Get Shape as a loft creation method when you want the shape to move to the location of the selected path. For example, you use this method if you have created a path at the exact location where you want your loft object to be. You use Get Shape to create a loft at that location.
Get Shape causes the shape to move and rotate to align itself with the current level of the path. The exact orientation of the shape is controlled by two other loft settings named Contour and Banking.
The following describes the orientation of the first shape at level 0:
Sometimes, aligning the positive Z axis of the shape with tangent of the path does not produce the result you want. You can flip the orientation of the shape by pressing Ctrl while getting the shape. Pressing Ctrl aligns the shape so that the negative Z axis of the shape is aligned with the tangent to the path.


