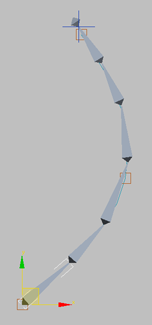
The Spline IK Solver dialog appears after bone creation if the Spline IK Solver has been selected as the IK solver and Assign To Children is turned on.

This dialog sets parameters for the spline that will be created to control the bone structure. The spline, in turn, is shaped by the positions of helper objects at each knot (control point).

Automatically creates the spline used for the Spline IK solver based on the parameters on this dialog. When off, no spline is created and a spline must be manually created and assigned to the spline IK solver in order to use the solver. See Animating with the Spline IK Solver for a description of this procedure. Default=on.
Choose the type of curve to serve as the Spline IK control:
 Shapes
  Line tool. This is the default curve type.
Vertices on the spline, or control points and CVs on the NURBS curve. You alter the spline or curve by moving and animating the knots. The number of knots sets the degree of refinement on the curve as well as the number of points that can be selected and moved to change the shape of the curve.
The default value is the number of bones in the Spline IK chain. Because one purpose of a Spline IK solver is to reduce the number of objects that require animation, you might want to use a lower value, such as half the number of bones.
When on, 3ds Max places one or more Point helper objects at each knot in the spline or curve, making it easier to move and animate the knots.
You can enable more than one type of helper. When you move one helper, the others at the same location also move, as does the curve knot.