Maps provide images, patterns, color adjustments, and other effects you can apply to the visual/optical components of a material. Without maps, material design in 3ds Max is limited. Maps give the Material Editor its full flexibility, and can give you dramatic results.
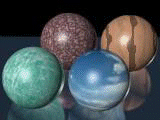
Spheres with various maps applied to them (as well as a reflection map applied to the surface beneath them)
The simplest use of a map is to assign a pattern to a material's Diffuse color. Using Diffuse Color maps is also known as "texture mapping." It “paints” an image or pattern onto geometry the material is applied to.
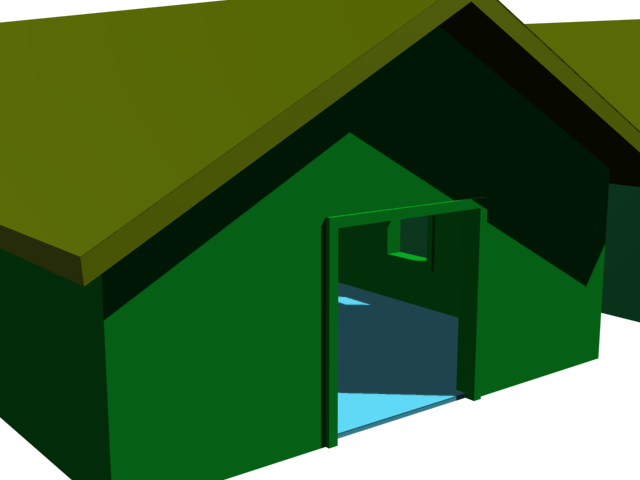
Building with default materials
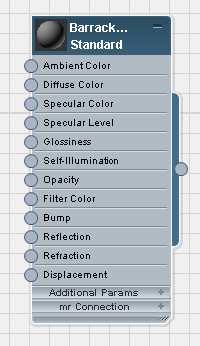
Node for a single, Standard material
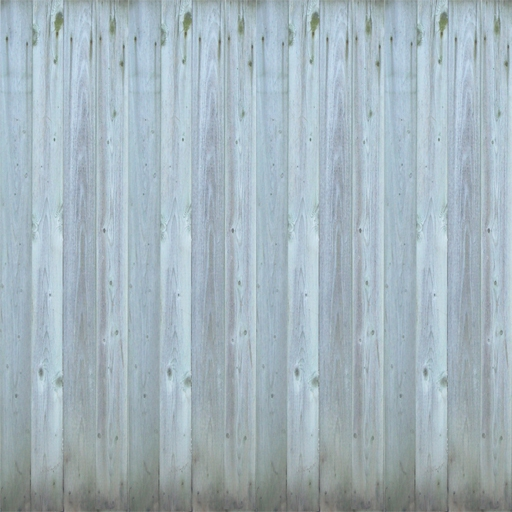
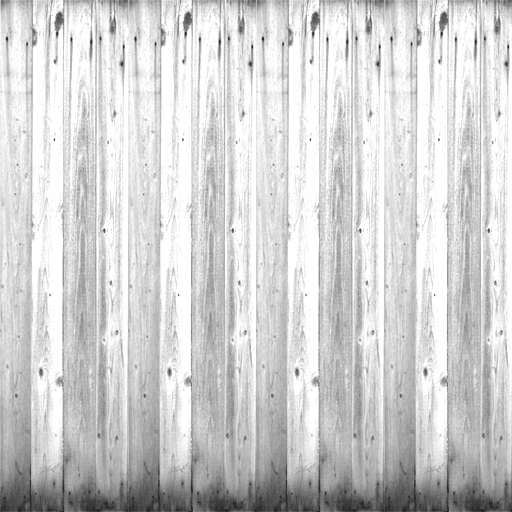
Planks bitmap for the wall texture
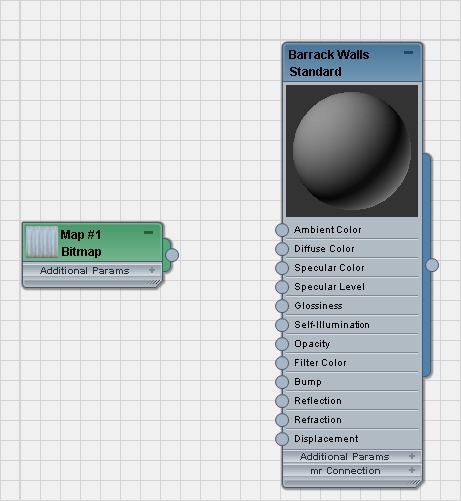
A Bitmap node added to the active View
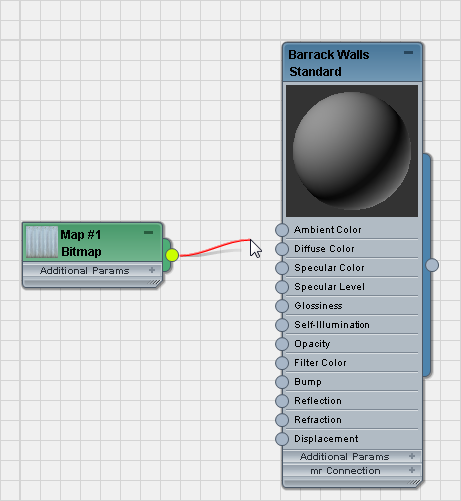
Dragging from the output socket of the Bitmap node creates a wire.

Dropping the wire on the Diffuse Color input socket applies that map to the material’s diffuse color component.
(The Slate Material Editor also adds a Controller node for the map’s Amount value.)
 apply the material to the walls.
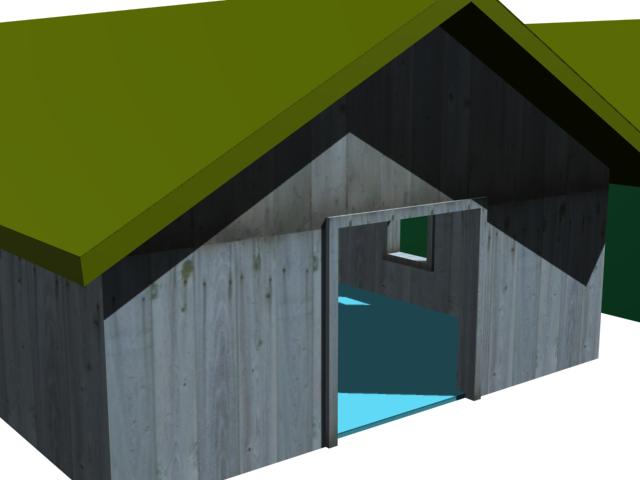
Texture applied to the walls, but not aligned properly

Texture map aligned to fit the geometry
Bitmap for adding bumps to the plank material
(This is simply the same image saved as black-and-white.)
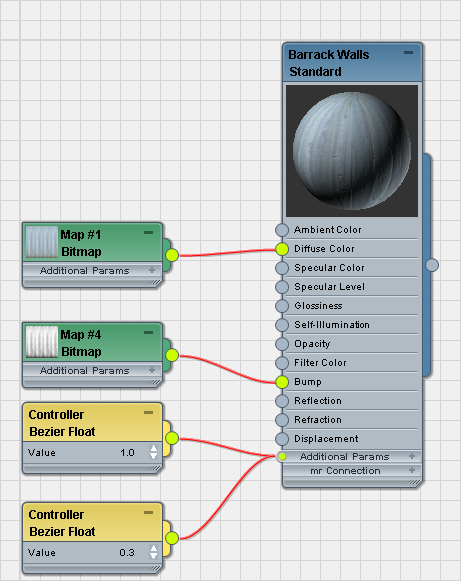
Bump map added to the material tree
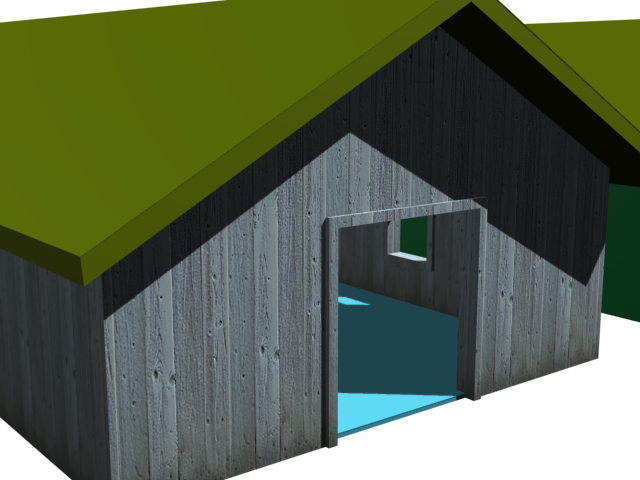
Building with both texture and bump maps applied to the walls
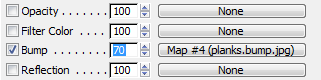
Use the Parameter Editor at the right of the window to increase the Bump amount.

Bump Amount increased to make the walls appear more weathered
The names of individual map types describe the pattern or effect they create, such as Checker map, Bitmap, Gradient, Flat Reflection, and so on.
The term "texture map" is interchangeable with "diffuse map"; that is, a texture map applies colors to geometry, as opposed to a map used to create reflections, bumps, and so on.
For a Standard material, you can assign maps using the Maps rollout. Click the Map button in line with the name of the visual component you want to map. 3ds Max opens the Material/Map Browser. Select the map type (for example, Bitmap) from the list of maps, and then click OK. Double-clicking the map's name in the Browser also assigns the map type.
In the Slate Material Editor you can assign maps by wiring nodes, as shown earlier in this topic.
Many material rollouts have shortcut buttons for assigning a map to some of the material's visual components. These small buttons are equivalent to the buttons in the Maps rollout. Assigning a map to a button in one rollout changes the corresponding button in the other.
Shortcut map button in a material’s Parameters rollout
Each type of map has its own set of parameters and controls. If the map is a Checker map, for example, you can choose the colors of the checkers, and whether a checker color has a map of its own. You can change tiling values to affect the scale of the checkers, adjust noise parameters to make the checkers irregular, and so on.
Navigating the Material/Map Tree
When you build a material of any complexity, you are building a material/map tree. The root of the tree is the material itself. The branches or “children” are the maps you have assigned to the material's components. Some maps can themselves contain maps (for example, a map applied to one color of a Checker map), so the tree can be more than two levels deep, and can actually be as deep as you need it to be.


