You will start by cloning the object you created in the previous lesson. You will then take the clone, which retains twist, taper, and FFD modifiers, and use polygon editing techniques to create the structure’s mullions.
 open \modeling\highrise\building1_glazing.max.
Create the mullions for the building:
 Select the glazing object (the tower). From the menu bar, choose Edit
  Clone. In the Clone Options dialog Object group choose Reference. Change the name of the object to Building 1 - Mullions, then click OK.
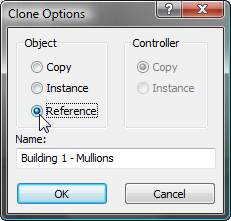
As a reference, the newly created mullions object behaves in a specific way. Any subsequent edits to the mullions object will not affect the glazing object. However, if you modify the glazing object, the mullions object will be affected. This way, any changes to the modifiers that affect the tower structure, which were created in the glazing object, can be carried forward to the mullions. But any polygon edits intended to affect the mullions only, will not affect geometry in the glazing object.
If the mullions object was cloned as a copy instead of a reference, it would be completely independent of the original.
If the mullions object was cloned as an instance, it would be completely dependent on the original, and vice versa: Any subsequent edits made to either object would affect the other.

Isolation mode ensures you are working on the correct object.
You now want to take the polygons that form the window grid and modify them to take on the characteristics of mullions. You will do so using the Edit Poly modifier.

Notice how a gray bar is inserted between the newly added Edit Poly modifier and all other modifiers. The bar indicates that all modifiers above the bar affect the reference object only and will not affect the original object. This way, you can keep on modifying the mullions object without affecting the glazing object.
 Zoom,
Zoom,  orbit, and
  pan until the roof of the tower is clearly visible, and then on the Selection rollout, click the Polygon button.
 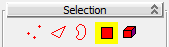 Select the middle polygon on the roof. On the Selection rollout, click Grow repeatedly until you have selected the entire
roof. Press Delete to remove all the selected polygons.
Select the middle polygon on the roof. On the Selection rollout, click Grow repeatedly until you have selected the entire
roof. Press Delete to remove all the selected polygons.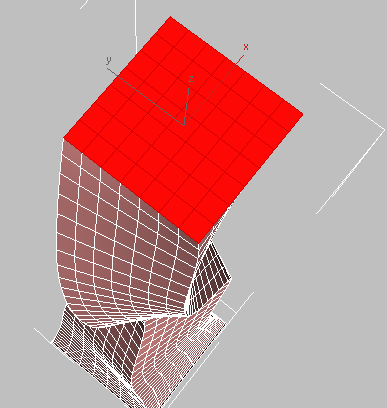
Now you will create insets out of the remaining polygons, which you will use as the window mullions.
Turn the mullion object into a lattice:
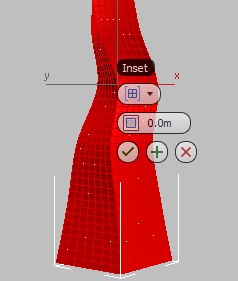
 Settings button next to the Inset button (just to the right of the main button).
3ds Max Design displays the caddy controls for the Inset tool.
 (OK).
(OK).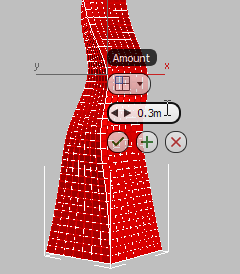
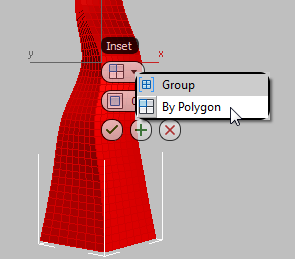
The By Polygon option applies the inset poly edit to each polygon in the selection.
 (Polygon) to turn it off and exit Polygon selection mode.
zoom in to the mullions you just created.
(Polygon) to turn it off and exit Polygon selection mode.
zoom in to the mullions you just created.
The mullions appear as thin, two-dimensional faces. You need to give them some thickness.
 Object-Space Modifiers section, choose Shell. On the Parameters rollout, set Outer Amount to 0.3m.
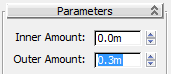
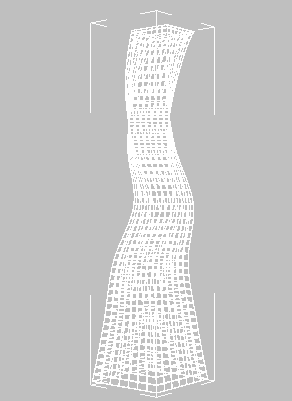
Now the mullions are thick enough to show up when you render the scene.