Camera timing is important. If the camera moves too fast, viewers will miss important elements of the animation (and might become dizzy). On the other hand, if the camera moves too slowly, viewers will lose interest. When you attach a camera to a path, the start and end frames of the timeline are used for the camera path animation; here, the camera starts moving at frame 0 and stops at frame 100. You'll adjust these values for the walkthrough animation so it is slow enough for viewers to see the details of the room. To modify the duration of the camera animation, you will use Track View, the 3ds Max Design animation editor.
Use the Curve Editor to increase the animation length:
 (Curve Editor (Open)).
 CameraDen
 Transform
  Position
  Path Constraint
  Percent.
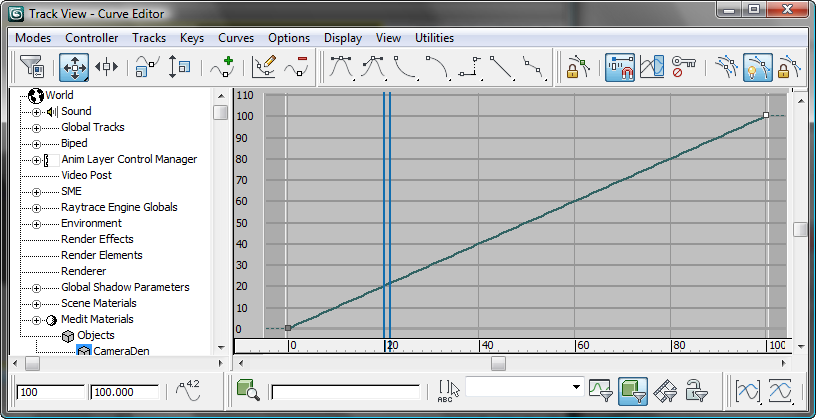
You should now see a linear position graph, or “function curve” in the Curve Window on the right.
The function curve represents a space-time relationship for the position of CameraDen. It starts at frame 0, 0 percent of the path, and it ends at frame 100, 100 percent of the path (which also is the end of the spline). To change the length of the camera animation, you need to edit the time value of the last keyframe.
The key is represented by a gray square. When you select it, it turns white with a black border.

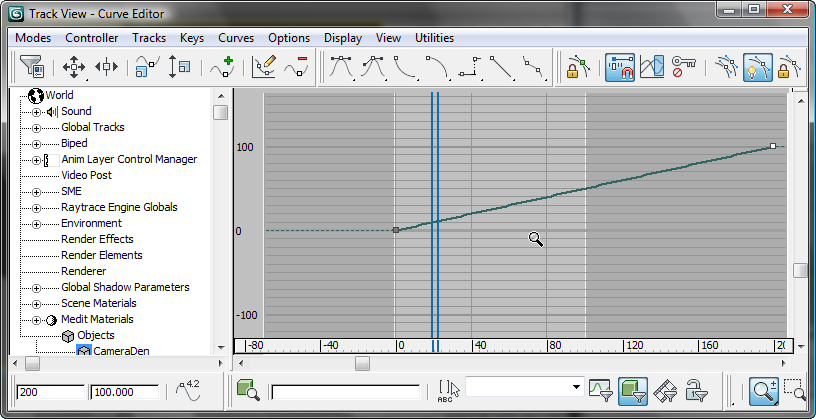
The duration of the animation is now set to 200 frames, and the curve now goes off the right end of the window.
 (Zoom) to turn it on, and drag downward in the Curve Window until you see the entire curve once again.
 (Zoom) again to turn it off.
Use the Curve Editor to adjust the camera's speed:
Right now, the camera has a constant speed between frames 0 and 200. This is indicated by the linear “curve” in the curve window. The camera starts suddenly and stops suddenly, which is not typical for real-world movement. It would be more realistic, and more pleasant to viewers' eyes, if the camera began moving slowly, speeded up a bit, and then slowed down before coming to a stop. In animation, the expression for this type of motion is “slow in, slow out.”

The Bezier Float controller changes the key tangents so the camera speeds up a bit when it begins to move, and slows down a bit before it stops. The shape of the curve is now a real curve, and indicates the changes in acceleration.
 Close the Curve Editor.
Change the time configuration:
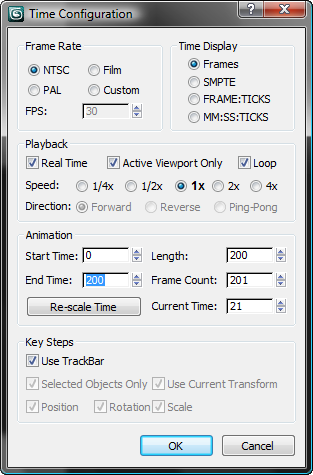
You have changed the keys for the camera to indicate a 200-frame animation, but 3ds Max Design is still set to render only 100 frames. You also need to change this setting.
 (Time Configuration) in the animation controls at the lower right of the 3ds Max Design window.


Three rectangles appear in the camera viewport. The outer rectangle is the area and aspect ratio of your current display. The middle rectangle is the zone that is safe for action: outside this rectangle, the image might be cut off when displayed on a video screen. The inner rectangle is the zone that is safe for displaying “titles” such as credits.
 (Play Animation) to view the animation.
The camera begins to move slowly, speeds up, and then slows down before coming to a stop.
 (Stop Animation) to stop playback.
 Save As, and save the scene as my_wt_camera_animated.max.