The lights for the deck area are mounted in six lamp posts around the pool. Setting them up is not much different from setting up the other lights, except that these are fluorescent lamps that cast shadows from a rectangular area, so the orientation of the light objects becomes important. Also, because of the large fixture size, you will use a self-illuminating material, and later a Glare shader, to improve the realism of the rendered scene.
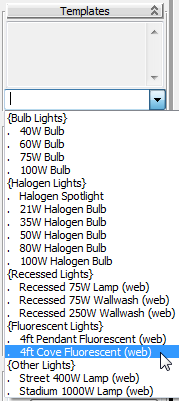
Add fluorescent lights for the deck around the pool area:
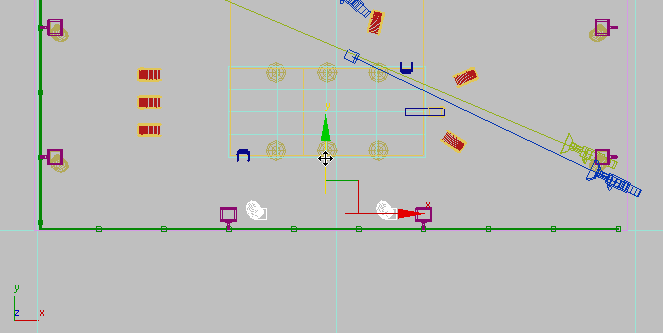
 zoom out around the swimming pool so you can see all six lamp post objects, as shown in the next illustration.
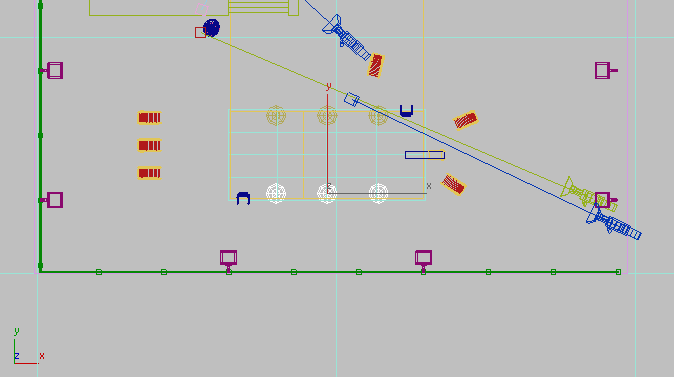
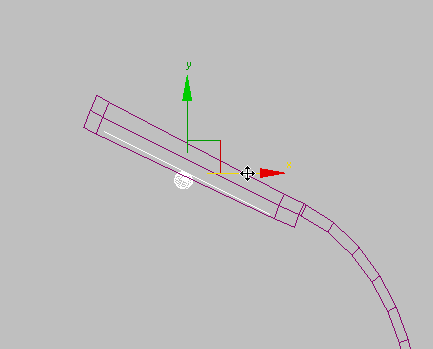
 (Zoom Extents) to get a closer look at the lamp post. Continue to zoom in until the light panel is clearly in view.
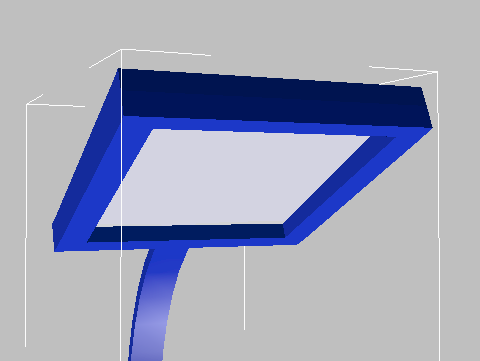
 Zoom in to the top of the lamp post object in the Front and Left viewports as well.
 Create panel, click
  (Lights). On the Object Type rollout, click Free Light to turn it on, and turn on AutoGrid.
By default, this type of object emits light as a point. However, you want the object to emit light in a rectangular area that corresponds to the geometry of the panel on the lamp post.
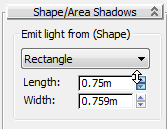
 Emit Light From (Shape) group, choose Rectangle from the drop-down list.
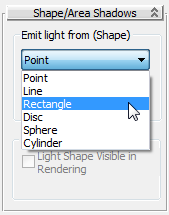
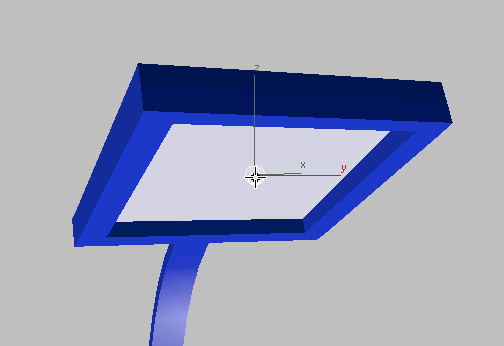
Use the Top and Left viewports to check your work. Use  (Select And Move) to adjust the position of the light object if you need to.
Before you move the light, go to the main toolbar and choose Local as the reference coordinate system.
(Select And Move) to move the light object downward slightly, toward the lower surface of the fixture.  Camera-Terrace.
Clone the original fluorescent light:
(Select And Move) to Shift+clone the light object to the neighboring lamp post, as shown in the next illustration. (If you changed the reference coordinate
system to Local, change it back to View before you Shift+clone.) Make the cloned light an instance of the original. 
 (Mirror).
Mirror Axis group, make sure X is chosen. In the Clone Selection group, choose Instance and then click OK.
(Mirror).
Mirror Axis group, make sure X is chosen. In the Clone Selection group, choose Instance and then click OK. 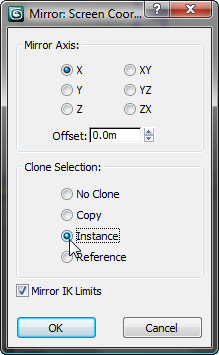
 move the cloned light objects to the lamp posts on the opposite side of the pool.
 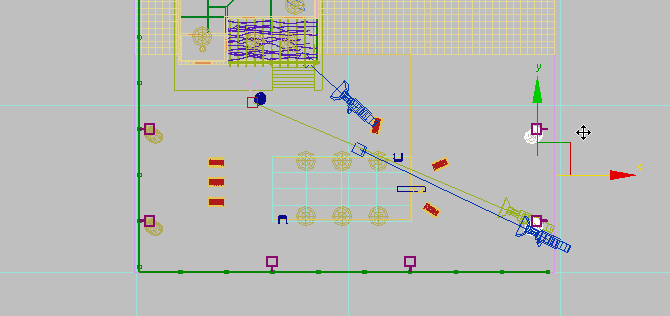 zoom in to the top of the lamp posts.
Add the lights on the lower side of the pool:
Shift+clone the light objects to the mid point between the two remaining lamp posts, as shown in the next illustration. Make the
clones instances, again. 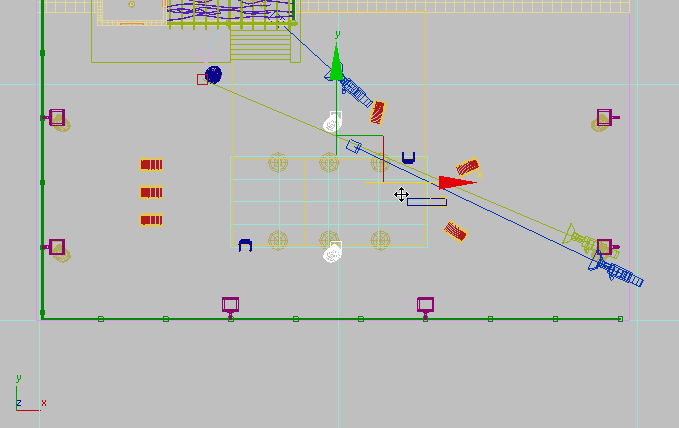
 (Angle Snap Toggle).
 Rotate the lights’ position by –90 degrees about the Z axis.
 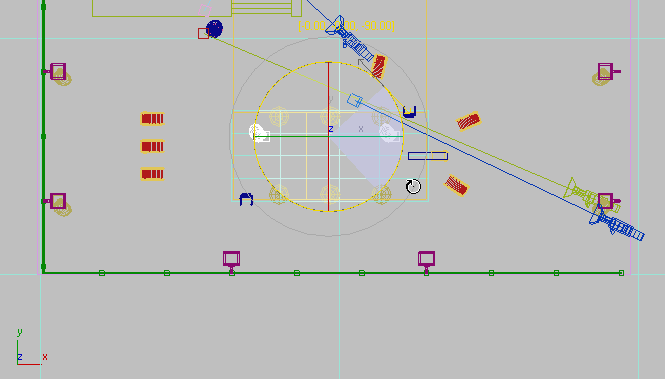 Move the lights on their Y axis until they are in line with the two remaining lamp posts, as shown in the next illustration.
 Move each light individually on its X axis until the light is repositioned inside the corresponding lamp post.
 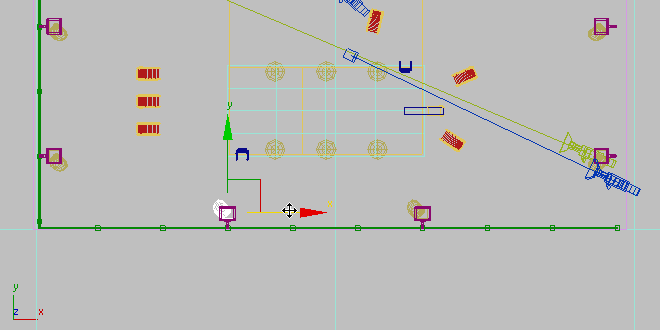 zoom in to the light objects you just repositioned.
  move both lights along the X axis until they are near the front edge of the fixture.
Render the scene to check the illumination:
 render the scene.
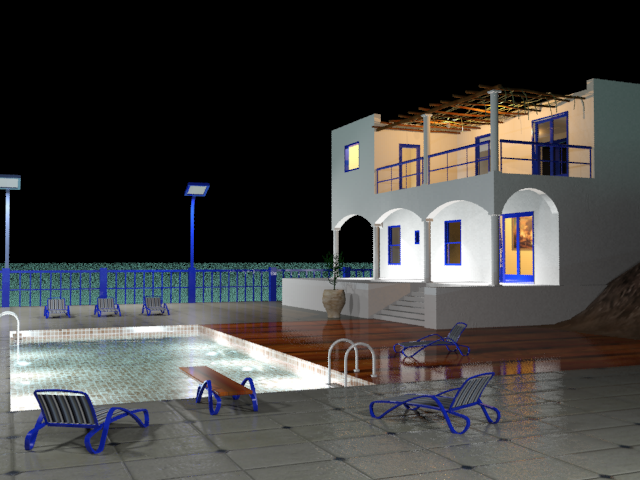
With the addition of these latest light objects, the time it takes to render the scene has increased considerably.
The area around the pool is now illuminated, but the scene remains under-lit. The intensity of the fluorescent light objects needs some adjustment.
Fine-tune the fluorescent illumination:
The fluorescent light objects you created for the pool deck emit a light intensity that corresponds to their product specifications. However, you have the option of overriding this setting. Here, you will increase the intensity to provide added illumination.
 Select one of the fluorescent light objects.
 Modify panel. In the Intensity/Color/Attenuation rollout Dimming group, double the value of Resulting Intensity from 100 to 200.0 percent.
 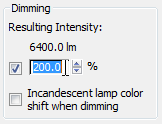 render the scene.
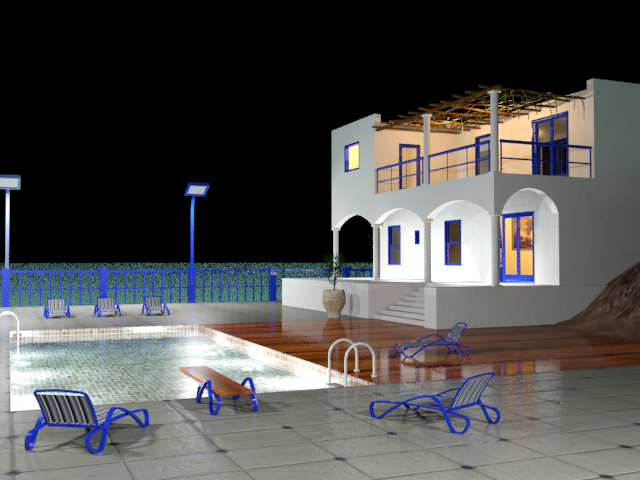
Because the light objects were cloned as instances, all lights are affected by the change to the Resulting Intensity setting. The amount of available light in the scene has greatly increased, rendering the shadows cast by the floor vase and diving board in greater detail.
The scene is almost complete, but one flaw remains. The frosted glass panels that cover the lamp posts are not glowing as they should, considering that the lamps are the major source of your outdoor illumination.
Make the lamp post fixtures self illuminating:
 Open the Slate Material Editor.
A lot of materials are already in the active View1 view, so you’ll create a new view for editing the Glow material.
Glow is a mental ray Arch & Design material. It is used by the shades for the balcony lights, and also by the glass panels in the lamp posts around the swimming pool.

The controls in the Color group lets you specify the color of the glow material, but leave default filter color of white unchanged.
In the Luminance group, choose Physical Units (cd/m 2 ). If you later choose to add lighting effects such as Glare, you can adjust this value to fine-tune the result. For now, leave the setting unchanged, at 1500 candelas per square meter.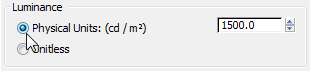
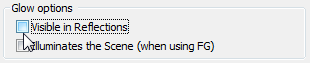
Since the rendered image already shows some reflectance of the lamp posts, you don’t need this option. The other option in this group, Illuminates The Scene (When Using FG), turns a self-illuminating material into its own light source. But the lamps already have their light objects in place, so any additional illumination from the Glow material is unnecessary.
 Close the Slate Material Editor.
The light sources in the lamp posts now look illuminated. On the other hand, their edges look too precise for light sources: They should have the glare that you see on streetlights and other nighttime outdoor lighting. You can correct this with the mental ray Glare shader.
mental ray provides a number of special effects designed to give light objects added realism. Here, you will add a Glare effect to the lights in the villa, to simulate their interaction with dust particles and ambient humidity.
 (Render Setup). On the Render Setup dialog, go to the Renderer tab. In the Camera Effects rollout Camera Shaders group, turn on the Output shader toggle.
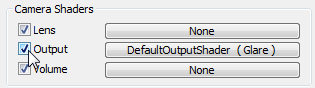
As the shader button shows, mental ray provides a Glare shader as a default shader for camera output, but by default this shader is turned off, so you have to enable it “by hand.”
Slate Material Editor, and move it so you can see both dialogs.
Output button from the Render Setup dialog and drop it onto an unused sample slot. The sample slot shows a red bar across
it when you are able to drop the map. 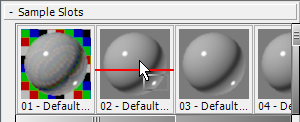
3ds Max Design asks if this should be an instance or a copy. Make sure Instance is selected, and then click OK.
Close the Render Setup dialog.
Once again, 3ds Max Design asks if this should be an instance or a copy. Make sure Instance is selected, and then click OK.
 Close the Slate Material Editor.
 clone of the existing rendered frame, then render the scene.
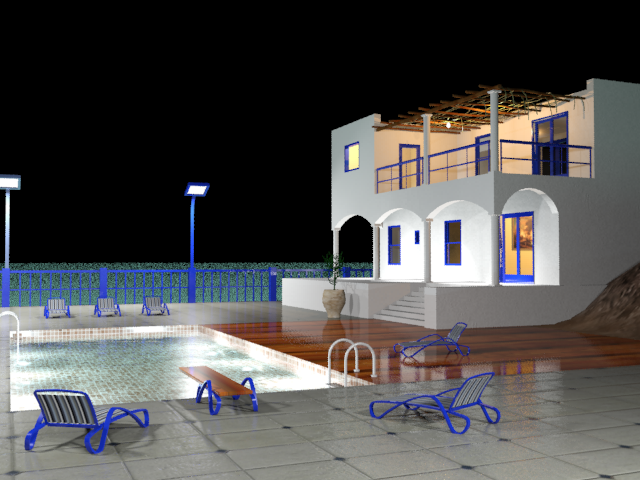
Rendered scene with Glare effect added to light sources
Compare the two images to see the Glare effect. This effect is most pronounced on the lamp posts for the deck, but it is also noticeable on the balcony light that is not hidden by the pillar.
Close the Rendered Frame Windows.


