You can use the mental ray renderer to generate indirect lighting, using bounced daylight to improve the illumination of th scene.
 (Render Production) or press F9.
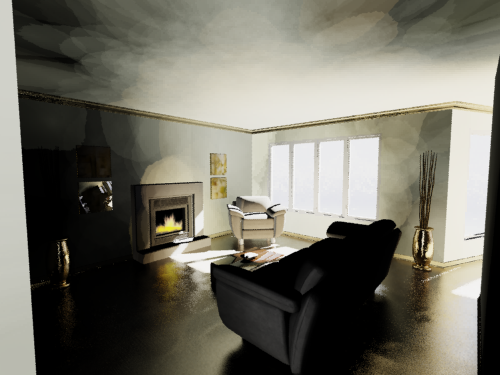
3ds Max Design renders the scene, but it is too dim, and the “photons” illuminating surfaces apppear as large blobs. Sunlight enters through the window, but it doesn't spread through the room the way real-life sunlight does.
Final Gather causes light to bounce off surfaces as it does in real life.


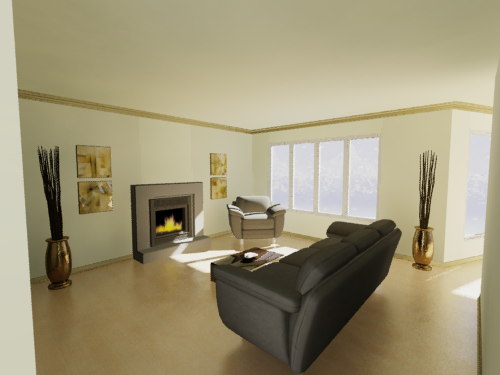
Now the room is clearly lit by daylight. It is actually a little too well lit. Also, there are some patchy areas on the ceiling and behind the couch that are caused by inaccuracies at the Low level of Final Gather. These are easy to fix.
Adjust the exposure and final gather settings:
 (Environment And Effects Dialog (Exposure Controls)) to open the Environment And Effects dialog. On the Logarithmic Exposure
Control Parameters rollout, reduce the value of Brightness to 45.0.
 Render Setup dialog. Go to the Indirect Illumination panel, and on the Final Gather rollout, change the value of Interpolate
Over Num. FG Points to 100.

Now the room is well and realistically lit.
(You might notice that on the Rendered Frame Window dialog, the status of Final Gather changes from “Draft” to “Custom,” because of your Render Setup change.)
 Save As, and save the scene as my_wt_fg.max.