Mixer shaders are an alternative texture blending tool to a shader's built-in support for texture layers. Like texture layers,
they allow you to blend textures together, one after the other. Unlike texture layers, which are blended with a shader's parameters,
mixer shaders are used to drive shader parameters directly, using the result of the mix.
Mixer shaders also lack the flexibility of texture layers. For example, while you can move texture layers up and down in the
mixing order with a single command, the only way to change a mixer shader's mix order is by changing all of its shader connections.
For more information about working with texture layers, see Blending Textures with Texture Layers.
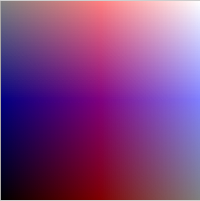
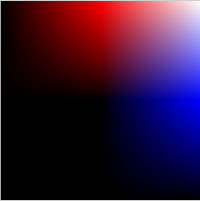
The Mode parameter of the Mix 2 Colors and Mix 8 Colors shaders determines how the images are mixed. The following images show how each mixing mode combines background and foreground
layers.
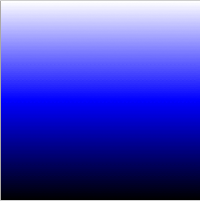
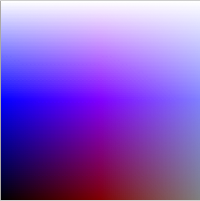
The background layer image used in the examples below.
|
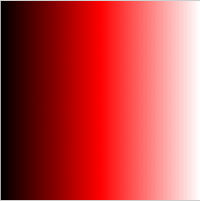
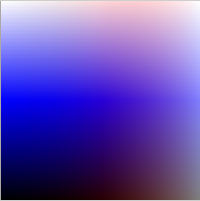
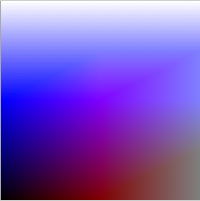
The foreground layer image used in the examples below.
|

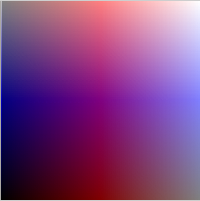
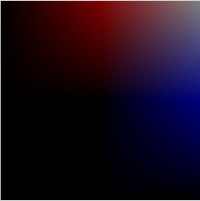
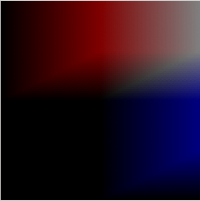
The Weight multiplied by the foreground's alpha is used to create a hole in the background, which is filled by the foreground
color multiplied by the foreground alpha multiplied by the weight.
|
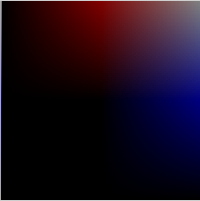
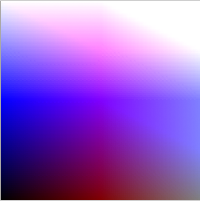
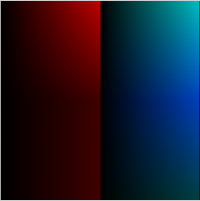
It uses the Weight to create a hole in the background, which gets filled by the foreground multiplied by the weight. You can create a decal effect by using an image to drive the Weight. Alternatively, to use the foreground's alpha, set the
Weight to 1.0 and activate Multiply Weight by Alpha.
|
The same as Hide/Reveal (Multiply).
|
Calculates the weighted average of the background and foreground based on Weight. Scrub the Weight slider for a cross-fade.
|
Calculates a proportional average of each layer's pixel values. The average is dependent on the brightness of each layer.
|
Multiplies the background and the foreground and the Weight.
|
|
Performs a similar calculation to the Hide/Reveal (multiply), except that all values are clipped at 1 (100%).
|
Adds the foreground multiplied by the weight to the background. The result is not clipped between 0.0 and 1.0.
|
Makes the brighter sections of the second layer gradually (and proportionally) screen out the darker sections of the first
layer. This mode compensates the background layer prior to adding, so the resulting color never exceeds 1.0 (100%).
You can use this mode to blend two high-intensity images without losing detail.
|
|
Performs a similar calculation to the Add mode, but all values are clipped between 0.0 and 1.0.
|
Sets each channel of each pixel to whichever value is lighter: the background, or the foreground multiplied by the weight.
|
Sets each channel of each pixel to whichever value is darker: the background, or the foreground multiplied by the weight.
|
Mixes the background and foreground, then reveals the resulting color with the brightest pixels of the foreground.
|
Uses the bright pixels of the background to brighten the foreground, and the dark pixels of the background to darken foreground.
Visually, each layer is pushing the other layer's extreme pixel values; that is, the darks become darker and the lighter parts
become brighter.
|
|
Subtracts the foreground multiplied by the Weight from the background, and uses the absolute value of the result.
|

Makes the darkest pixels of the foreground dim the gamma and boost the contrast of the background. Meanwhile, the brighter
pixels of the foreground boost the gamma and dim the contrast of the background. The brighter the foreground, the more it
offsets the background's hue. Visually, you're controlling both the gamma and the contrast values simultaneously on different
parts of the image.
|

Inverts the background as well as the foreground multiplied by the Weight, inverts the two values, multiplies the results
together, and then inverts the final result.
|


