You can save an action source as a preset to share animation between models in different scenes. Presets make it easy to transfer the animation in the action source from one scene to another because it is independent of objects and allows you to map the names of elements between models when you load the preset.
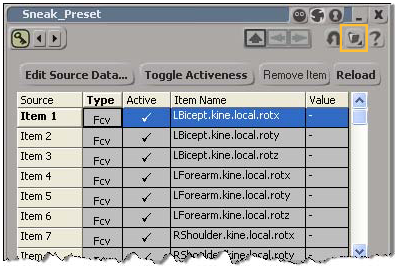
Normally when you save a preset on an ordinary property, only the current values are stored with no animation. But when you save a preset for an action source, the animation is saved.
You can't store a preset for an action clip or a compound because doing so would mean storing animation, the actions within the compound, the compound mixer, etc. However, what if you want to transport the results of animation you've mixed with clips in Softimage to another software? Try freezing the action clips you've modified to create a new source and then save a preset for it. See Baking Clips into New Action Sources for more information.
You can load preset actions to share animation between models in different scenes. Drag and drop files to a model or the animation mixer, depending on whether you want to create only a source, or both a source and a clip:
To create only a source, press Shift or Ctrl while dragging and dropping a preset file from a browser onto a model or object in a scene (not to the mixer).
If no model is selected, the file is dropped onto the scene root.
Select the model (including the scene root) to which you want to load the preset file.
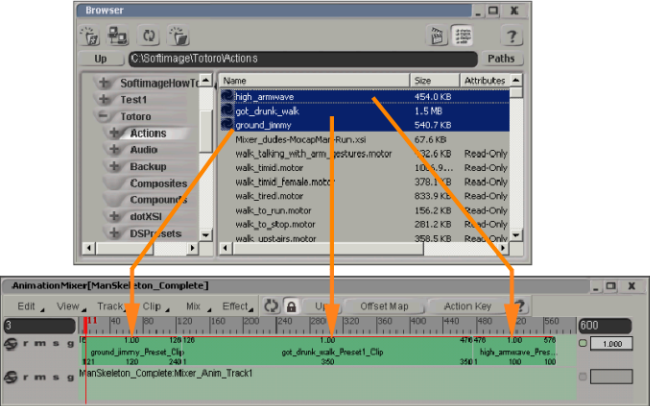
Open a file browser and drag one or more action preset files at a time onto a track in the mixer. On Windows systems, you can also drag presets from a folder window or Windows Explorer.
If there is no match for some of the object and parameter names in the source, the Action Connection Resolution dialog box opens — see Resolving Unconnectable Parameters.
Action clips for each file are added to the track in the order that you selected them in the browser, following each other consecutively on the track.
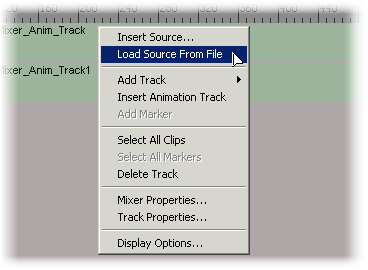
In the animation mixer, right-click an animation track where you want the action clip from the preset to begin and choose Load Source From File. You can load only one preset file at a time.
In the browser that opens, select a saved action preset with the *.preset extension, then click OK.
An action clip for the preset is added to the animation track.
The action presets are also added in the Sources  model folder at the scene level, and a copy is made in the Mixer Sources Animation folder of the current model.
By default, the action source name is based on the preset file name, but you can rename it as you would anything else in the explorer.
Once the preset is loaded, you can instantiate additional clips by right-clicking in an animation track and selecting the source name from the Load Source menu - see Creating Action Clips in the Mixer.