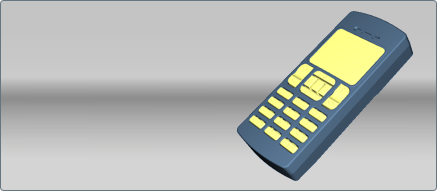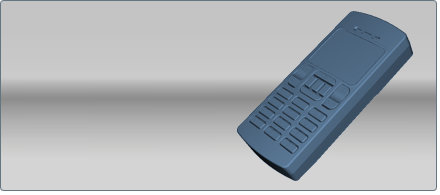
For most imported models, the normals should already be correctly positioned. However, before you start applying materials it is a good idea to use the Show Normals tool to check that all the surface normals face outward and to correct any that need correcting.
To check normals and correct any facing inward
The model changes its shading to show its normals.

The outward-facing side of each surface should be blue, and the inward-facing side should be yellow.
The selected surface changes to blue, indicating its normals now point the correct way.

If some patches in the object have reversed normals, you can use the Fix Object Patches tool. See Fix object patches.
To turn off normals so you can resume editing your scene, press V and select a different visual style.
Face normals to camera to improve patchy appearance
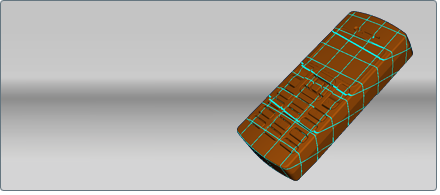
You can choose to override irregular normals so they will not affect the lighting of materials. This may prevent a patchy appearance for paints and other materials (for example in Autodesk Opticore file), especially if you are creating quick design reviews where ambient shadows do not need to be calculated and transparent surfaces will not be ray traced. You should, however, test ambient shadows after doing this if you intent to use them. Ambient shadows do not always behave as expected when normals are facing the camera.
The selected surfaces change to orange (to indicate their normals are being overridden to face the camera).
