Sculpting in Mudbox is as easy as loading a model, subdividing it, and stroking on the model with a sculpt tool.
- With a model loaded in the , click the tab to display the tray.
- In the tray, select a sculpt tool.
- In the , position the cursor on the model and click a few times in the same location without moving the tool cursor across the surface
of the model.
NoteIf the following message appears:
The mesh you are trying to sculpt is too coarse for the size of your brush, you’ll need to either increase the resolution of your model or increase the size of your sculpt tool. For more information,
see
Increase a model's resolution and
Edit sculpt tool properties.
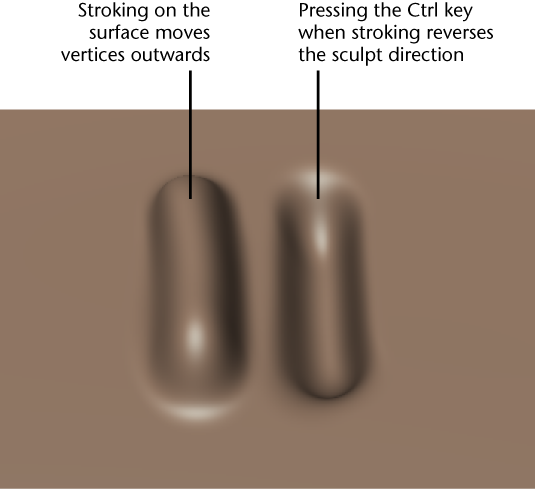
The vertices on the model move slightly outwards in that region. Each click moves the vertices within the tool cursor upwards.
How far the vertices move depends on the property combined with the setting. The property is represented by the circular tool cursor that appears whenever it is over the model.
- Click-drag the tool cursor across the surface of the model.
The vertices on the model move slightly outwards along the path you dragged. This path is called a stroke. A stroke appears
continuous but is actually made up of many stamp impressions that overlap each other. You can adjust how much the stamps overlap
by adjusting the property.
Note
Not all sculpt tools move vertices outwards by default.
- To reverse the sculpt direction for any sculpt tool, press the Ctrl key and click-drag the cursor across the surface of the
model.
- To create smoother strokes, turn on in the window.
NoteWhen you select a tool in any tray, the tool properties display in the window. You can change a sculpt tool’s properties (like and ) in this window, or using hotkeys.
TipQuickly modify a sculpt tool’s falloff value by selecting a preset from the tray. For more information, see
Sculpt Tool properties.