You can use the render window to create test clips or stills of your animation.
 Render.
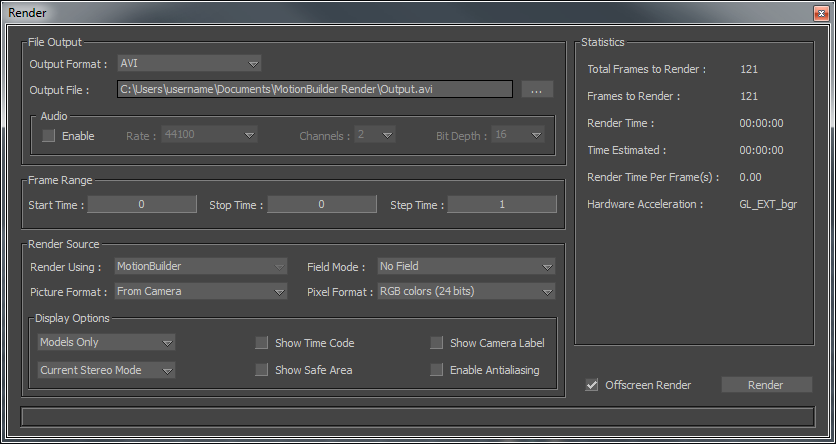
Render window
See Render Source.
See Render Output format.
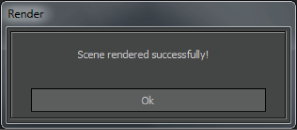
The selected segment of the scene is rendered into the format specified in the Output Format menu and saved to the destination specified in the Render window Output File field. A window appears to tell you the scene has rendered successfully.
A window appears to tell you the scene has rendered successfully
 Except where otherwise noted, this work is licensed under a Creative Commons Attribution-NonCommercial-ShareAlike 3.0 Unported License


