The Motion Blend window lets you blend two or more takes of the same character to create a take. You can also blend sections of the same take to create an animation cycle that you can use later in the Trigger window.
During blending, the Motion Blend window also lets you alter the timing of takes. This is useful if you want to match the speed of movements over different takes.
Before you use the Motion Blend window, you need a model, a skeleton, or a Control rig on which at least one take is plotted.
To display the Motion Blend window, select Window > Motion Blend in the menu bar.
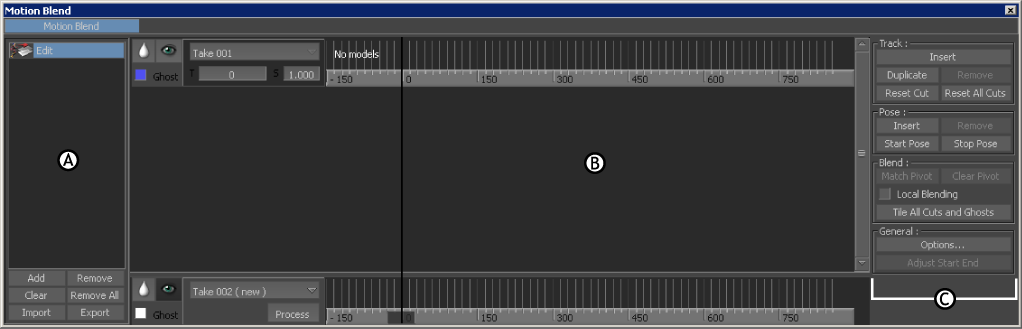
Motion Blend window A. Edits pane B. Track list C. Motion Blend Options pane
When you open the Motion Blend window, an edit containing a single track set to Take 001 is automatically added. The track contains no models, sensors, or Control rigs, as indicated by the “No models” text in the first track of the Track list.
The Motion Blend window does not support shapes or morph targets. You can only blend translation, rotation, and scaling.
The Motion Blend window consists of the following:
See Motion Blend keyboard shortcuts for information on using shortcuts with this window.


