In the following procedure you create a biped in 3ds Max for export to MotionBuilder.
To create a biped in 3ds Max for export to MotionBuilder:
- Launch the 3ds Max software.
- In the Application menu, choose Reset to clear the scene/settings.
- On the Create panel, select Systems.
- On the Object Type rollout, click Biped.
- In the perspective viewport, click and drag to create a biped object.
Note The size of the biped is not important.
- Open the Motion command panel.
- With Bip001 still selected, go to the Motion panel > Biped rollout and click Figure Mode.
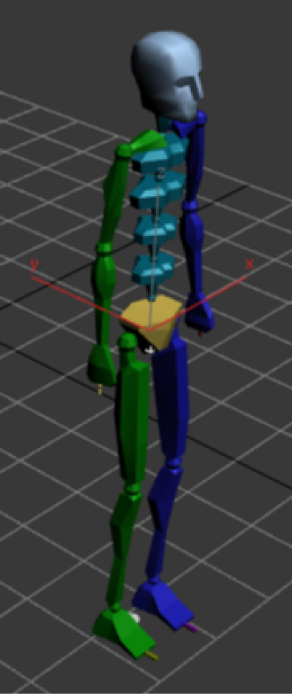
- In the Structure rollout > Body Type group > Neck Links spinner box, enter 4.
The 3ds Max biped object now has four neck links as shown in the following figure.
- In the Spine links spinner box, enter 10, in the Fingers spinner box, enter 5, in the Finger Links spinner box, enter 3, in the Toes spinner box, enter 5 and in the Toe Links spinner box, enter 3.
- Go to the Motion panel > Biped rollout and click Figure Mode again to exit the input mode.
- From the Application menu, select Send to > Send to MotionBuilder > Send as New Scene. MotionBuilder launches.
- In MotionBuilder, position your cursor anywhere in the Viewer window and press A to frame all of the biped skeleton.
- In the Select File To Export dialog box, navigate to a directory other than the default MotionBuilderTutorials directory where you want to save the file and name your file My_biped. Choose Autodesk (*FBX) as the file type, and click Save.
Note
If you do not specify a location, the file is automatically saved in the FBX file format to the 3ds Max Export folder.
Now that your biped is saved as an FBX file, you can use it in the next tutorial (Characterize a 3ds Max biped in MotionBuilder) to characterize it in MotionBuilder.
NoteIf you wish to see the result of this procedure, open the biped.FBX file.