Use the following steps to tile and adjust a texture on your model. See Texture tiling.
To tile a texture:
- Apply a texture so that it displays on the model in the Viewer window. See Choosing texture types and Adding a texture to a material.
- Select the best mapping method for your texture and model. See Changing texture mapping.
- In the Scene browser, expand the Textures folder and double-click the texture you want to tile. The Texture settings appear
in the Navigator and Properties windows.
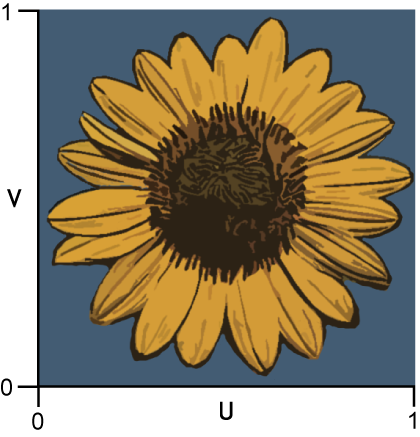
- Before or while you tile the texture, it can be useful to adjust its position on the model. Use the Translation values in
U and V directions. The Translation values basically set the UV starting position of your texture. Changing the Translation
values moves the texture but does not tile it.
Note
You can animate the texture’s Translation values.
- Use the Scaling U and V values to tile the texture. The higher the Scaling value, the more a texture is tiled. For example,
entering a value of 5 shrinks the texture and tiles it 5 times. Set the values to 1.00 to keep the texture at its original
size. Setting the values to less than 1.00 spreads out the texture.
Note
You can key and animate the Scaling U and V values.
- When you scale a texture, it scales in or out from its pivot point. By default, a texture’s scaling pivot point is one of
its corners. If you prefer to scale the texture from a different point, such as its center, you can change the texture’s scaling
pivot using the Scaling Pivot Offset properties in the Properties window.
The Scaling Pivot Offset U and V values range from 0 to 1.00. Change the value of the Scaling Pivot Offset.u property to move
the pivot along the width of the texture. Change the value of the Scaling Pivot Offset.v property to move the pivot along
the height of the texture.
To scale a texture from its center, for example, enter a value of 0.50 for both U and V properties, placing the texture’s
scale pivot in the middle of the texture.
Note
You can use the UV Swap option to change the direction of the texture’s UV map coordinates.
- Select Repeat in both U Tile and V Tile menus to let your texture tile in both directions. Otherwise, select Clamp from either
menu.
Note
If both U Tile and V Tile menus are set to clamp, your texture will not tile.