To paint rigid skin point set membership
- Select the rigid skin object(s).
- Go into smooth shading mode (hotkey: press 5).
- Select Edit Deformers > Paint Set Membership Tool >
 .
.
- In the box, select the joint set with the point memberships you want to edit.
- Use the brush to add, transfer, or remove set memberships.
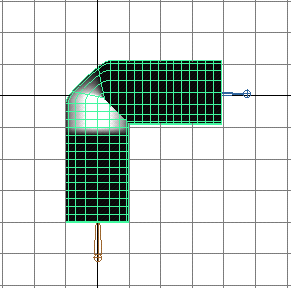
To paint creasing effects
- Select smooth shaded display mode (hotkey: press 5).
- Select the cylinder.
- Select Edit Deformers > Paint Cluster Weights Tool > .
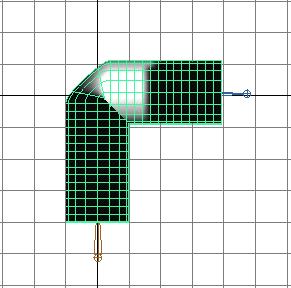
In the section of the window, notice the joint1Cluster1.weights button.
- Select a rigid skin point cluster. For example, cluster-joint3Cluster1 > weights.
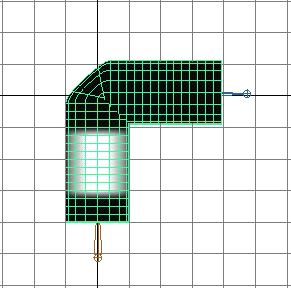
- Select another rigid skin point cluster. For example, select cluster-joint4Cluster1 > weights.
- Check the other rigid skin point cluster. For example, check cluster-joint2Cluster1.
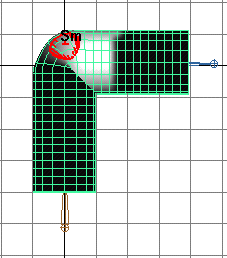
- Use the ’s brush to smooth the deformation effect.
 Except where otherwise noted, this work is licensed under a Creative Commons Attribution-NonCommercial-ShareAlike 3.0 Unported License