


This sample workflow illustrates how to do the following:
Although this step is optional, render pass contribution maps give you finer control over light and objects and their passes relationship. For example, you can use pass contribution maps to easily create a diffuse pass for a specific object that is illuminated by a specific light.
For a list of available passes, and a list of shaders that is currently supported by the multi-render pass workflow, see Multi-render passes.
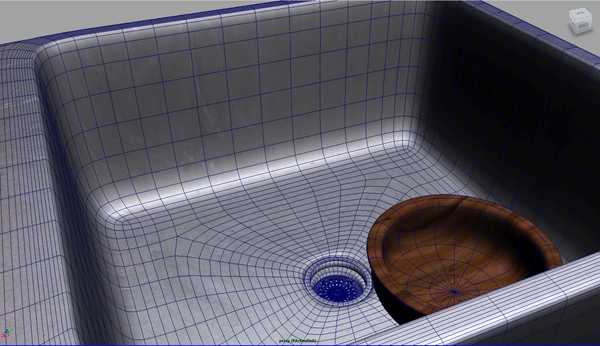
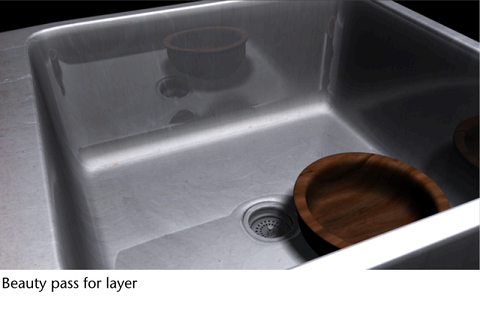
In this scene (KitchenSinkModel.ma), there is a render layer, named KitchenSink, with two objects, a sink and a bowl, and a light. A Phong shader is applied to the sink and a Lambert shader is applied to the bowl.
passContributionMap1 is created. Double-click it and change its name to Bowl.

 button to create new render passes. The Create Render Passes window appears.
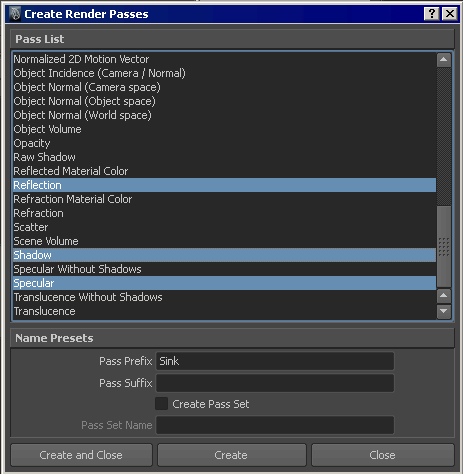 button to create a new render pass. The Create Render Passes window appears. Select the Diffuse render pass and enter Bowl in the Pass Prefix field, then click Create and Close. The BowlDiffuse pass appears under the Scene Passes section.
 button to move the passes to the Associated Passes section.
button to move the SinkDiffuseNoShadow, SinkReflection, SinkShadow, and SinkSpecular passes to the Passes Used by Contribution Map section.
button to move the passes to the Associated Passes section.
button to move the SinkDiffuseNoShadow, SinkReflection, SinkShadow, and SinkSpecular passes to the Passes Used by Contribution Map section.
By default, your rendered images are saved to the subdirectory <RenderLayer>\<camera>\<RenderPass> under the images\tmp directory of your project file. The image file name <scene>.iff is used for each rendered image.
You may want to customize the subdirectories and filenames for the rendered images instead. For example, you may not want a folder to be created for each layer and camera. Use the tokens available from the File name prefix attribute under the File Output section in the Render Settings: Common tab. and combine them with separators such as _ or -.
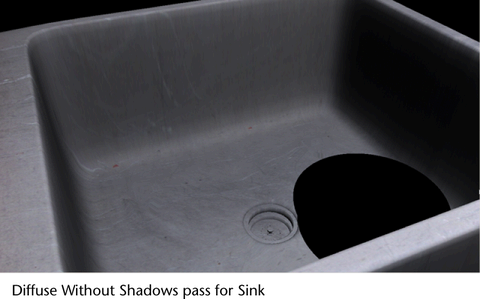
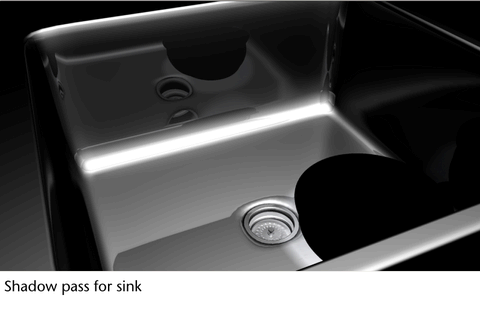
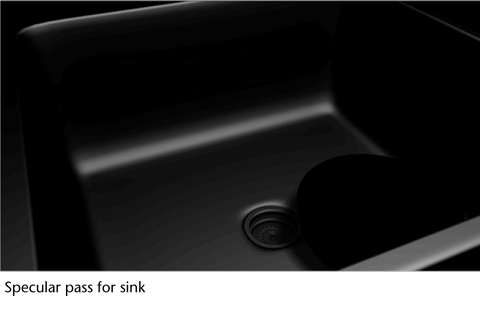
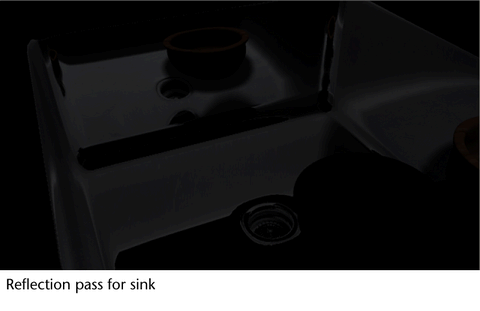
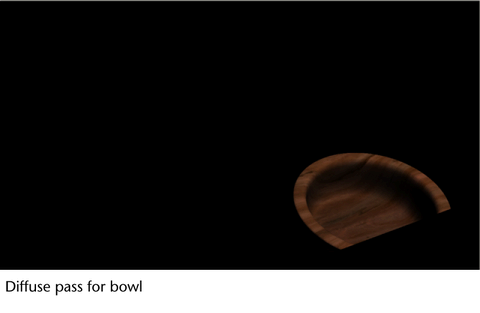
For example, you may want to use the <Scene>_<RenderLayer>_<RenderPass> tags to create the filenames for your images. In this sample workflow, the following images are produced:
If your scene includes many render passes, you may want to group them into render pass sets. You can create render pass sets using the Create Render Passes window at the same time as when you are creating your render passes.
 button. In the renderPassSet Attribute Editor, enter a name for your render pass set, for example, Illumination.
button to move the render pass set to the Associated Passes section.
button. In the renderPassSet Attribute Editor, enter a name for your render pass set, for example, Illumination.
button to move the render pass set to the Associated Passes section. 
 button. The Relationship Editor window appears and you can see that the Illumination pass is automatically associated with all the passes that you created
simultaneously.
button. The Relationship Editor window appears and you can see that the Illumination pass is automatically associated with all the passes that you created
simultaneously. 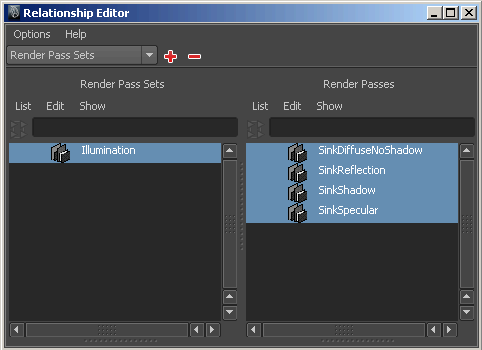
 Except where otherwise noted, this work is licensed under a Creative Commons Attribution-NonCommercial-ShareAlike 3.0 Unported License