A snake character with Spline IK slithers across the forest floor. The snake is manipulated by translating and rotating the NURBS curve. The NURBS curve is driven by control objects (in this example, they are locators) at the beginning (head) and end (tail) of the curve.
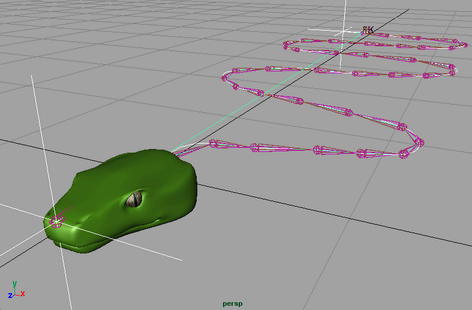
The Spline IK handle starts at the first joint and ends at the last joint of the snake’s skeleton, and its NURBS curve runs through all the joints and bones.
This constrains the start and end joint Up vectors of the snakes joints to the Y axes of the locators used to drive the NURBS curve.
The positive Y orientation of the locators is used to calculate the Up vectors of the joints in the Snake’s skeleton.
This moves all the joints and bones in the snake’s skeleton. Notice that the joints and bones also now respect the orientation of the manipulation objects.
 Except where otherwise noted, this work is licensed under a Creative Commons Attribution-NonCommercial-ShareAlike 3.0 Unported License


