See also Render nodes.
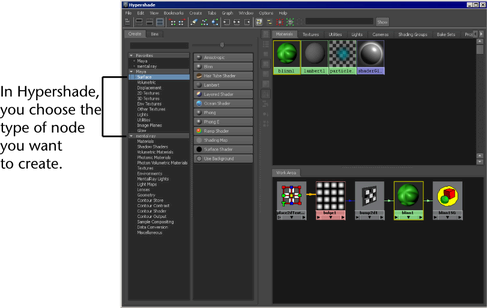
Different types of nodes are nested in sections within the bar, such as Surface, Volumetric, Displacement, and so forth.
If you drop the new node onto another node, a connection pop-up menu may appear. Select an attribute on which you want to connect a node, and release the mouse button. The Hypershade displays the new node swatch and the material swatch updates. For more information about render node connections, see Render node connections.
If you want a clear Hypershade Work Area tab (bottom tab) every time you drag a new node into Hypershade, turn on Options > Clear Before Graphing. This is helpful especially if you have large networks with many nodes and you want to work on just one node or a smaller section of the network. You can select the node you want to work on and graph upstream or downstream connections to show you just that section without having to look at the rest of the network.
 Except where otherwise noted, this work is licensed under a Creative Commons Attribution-NonCommercial-ShareAlike 3.0 Unported License


