Chapter 18, Masking
| Editing Masks | Creating and Editing Edges | ||
Chapter 18, Masking |
|||
Once your mask is created, use the Transform tool to fine tune its position, shape, and size. You can manipulate the mask inside the player These settings can also be animated. Once you select the Translate tool, the following parameters are displayed:
The following mask shape Transform parameters can be animated. They are accessible from the animation timeline and expressions can be assigned to all of them:
Translation X
Translation Y
Rotation R
Scale X
Scale Y
Pivot X
Pivot Y
Pivot R
Note: Tracking information can be assigned to shape transformation--see Chapter 25, Tracking and Stabilizing.
![]()
 "Show full-size image")
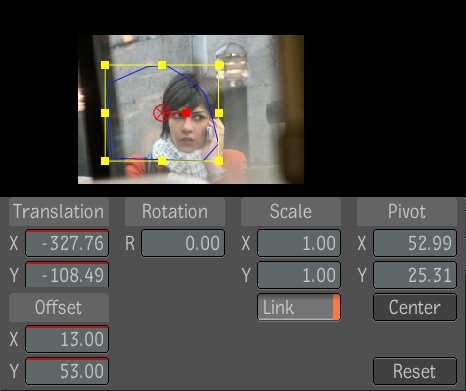
| Use: | To: |
| Translation X,Y | Translate the mask in the X and Y direction. |
| Offset X,Y | Add an offset to the translation of a garbage mask. |
| Rotation | Rotate the mask. |
| Scale | Change the mask's X or Y scale (or both with Link enabled). |
| Pivot | Adjust the X and Y location of the mask's center of rotation/scaling. Use the Center button to set the pivot point to the center of the mask's bounding box. |
| Reset | Reset all the transform parameters to their initial values. |
Do one of the following:
Place the cursor inside the mask's bounding box, and click + hold and then drag the mask to translate in any direction.
Type the position into the X, Y value editors and press Enter.
Click + drag inside the value editor.
![]()
 "Show full-size image")
Do one of the following:
Type the offset position into the X, Y value editors and press Enter.
Click + drag inside the value editor.
 "Show full-size image")
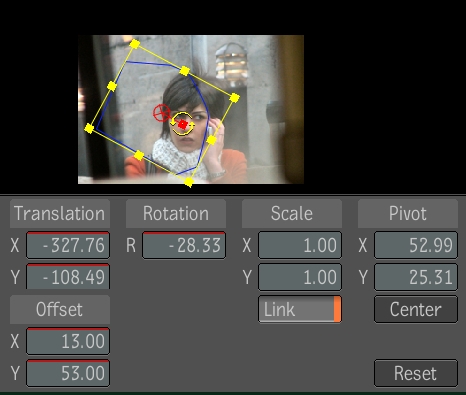
Do one of the following:
With the cursor over the rotation handle, rotate the mask.
Type the angle of rotation (in degrees) into the Rotation value editor and press Enter.
Click + drag inside the value editor.
 "Show full-size image")
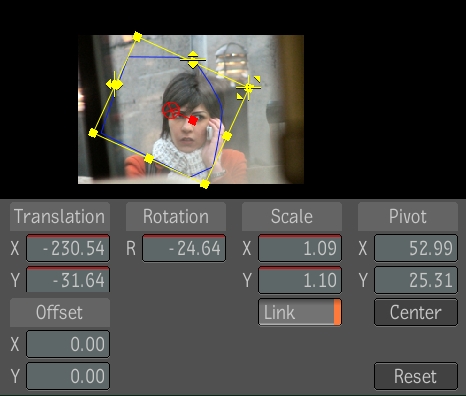
Do one of the following:
With the cursor over the one of the mask's resize handles, click + drag the mask.
Type the X and Y scale values into the X and Y Scale value editors and press Enter.
Click + drag inside the value editor.
 "Show full-size image")
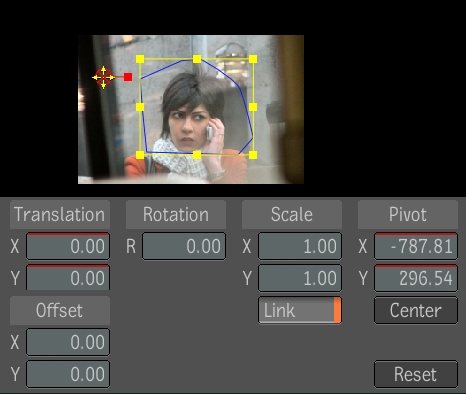
Do one of the following:
With the cursor over the mask's pivot handle, click + drag the mask.
Type the X and Y pivot position values into the X and Y Pivot value editors and press Enter.
 "Show full-size image")
Click + drag inside the value editor.