In , NURBS surfaces are the only surface type you can paint on. You will create a NURBS plane, and sculpt it to make its surface
appear like an underwater terrain.
To create a surface terrain for the underwater scene
- Select .
A new empty scene is created.
- From the main menu, select >
 .
.
The NURBS plane options window appears.
- In the window, select and then set the following options:
- In the window, click .
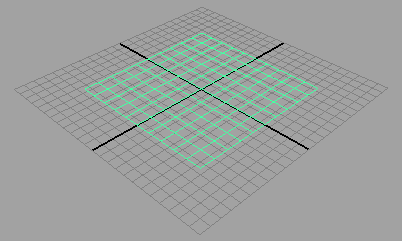
Maya creates a plane primitive and positions it at the origin. The plane is 15 units by 15 units in dimension with 10 subdivisions
along each side.
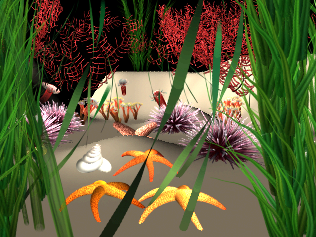
This surface will become the seabed terrain for your scene.
To sculpt a terrain using the
- Select the plane surface.
- Turn off the Interactive Creation option for primitives: Select (no check mark).
- On the , select from the drop-down menu.
The Main Menu changes to display menu set.
- From the Main menu, select .
The cursor display changes to the brush cursor for the .
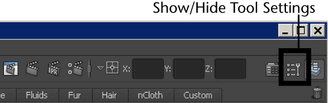
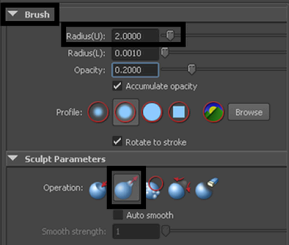
- On the , click the button to display the tool settings for the .
- Reset the settings by selecting .
- In the section, set the to 2. In the section, set the sculpt to .
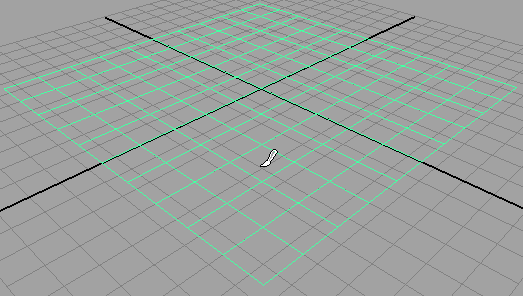
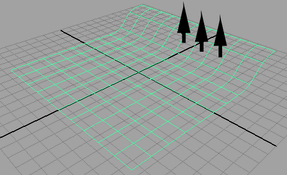
- Drag the cursor along the back right edge of the plane to pull it upwards as shown.
- Drag the cursor along the back left edge of the plane to pull it upwards.
- Dolly and track the view as required so you can easily view the areas you need to sculpt.
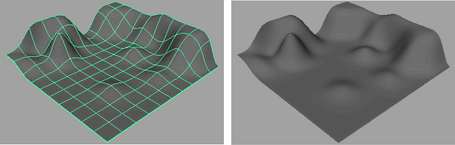
- Sculpt along the front and middle of the plane to make some bumpy areas.
- Repeat steps 7 through 10 until you have your 3D terrain looking roughly as shown in the image below.
Tip
If you want to undo a particular sculpt operation, click Ctrl + z to undo the sculpt stroke. You can click Ctrl + z repeatedly
to undo a number of sculpt operations.
- When you complete your terrain, return to the Menu set by selecting Rendering from the drop-down menu on the .
- Hide the window before proceeding.
To select preset brushes from the Visor
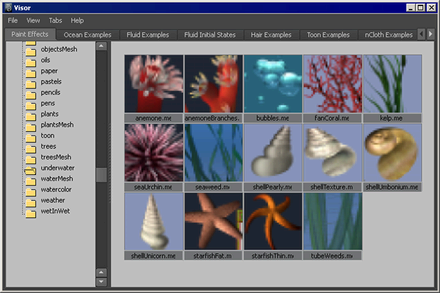
- From the main menu, select .
The panel appears.
- In the , click the tab to display the various brush folders.
- Scroll down the brush folders list to the underwater folder, and click it to view its contents.
In the next section of the lesson, you use these brushes to create an underwater scene.