


Lesson 4: Adjusting muscle
length
Muscles created with the Muscle Creator window have three built-in cross section curve sets that you can edit: one for the default rest position, one for the squash state, and another for the stretch state. You can directly edit these curves in the scene view, or using the Muscle Creator window. The following example shows you how to adjust the muscle length for each of these poses.
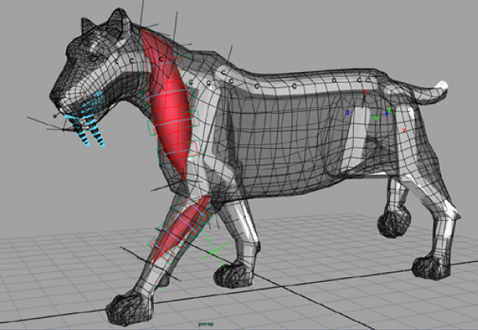
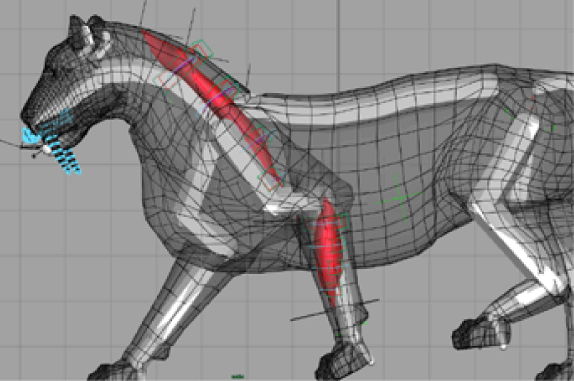
This scene contains the saber tooth tiger with capsulated bones, a front leg muscle, and a neck muscle that has been set in all three pose states.
Notice that the neck muscle travels down from the cervical joints to the humerus joint in a straight line, which causes the muscle surface to either stick out too much from the tiger’s body, or go through the shoulder joints. This not only looks unnatural, but it also affects how the muscle works. In the next steps, you will fix this by changing the muscle’s center line for each of its pose states so that it follows the contours of the tiger’s body.
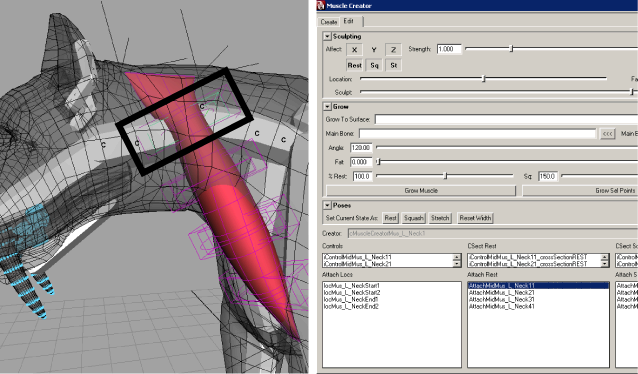
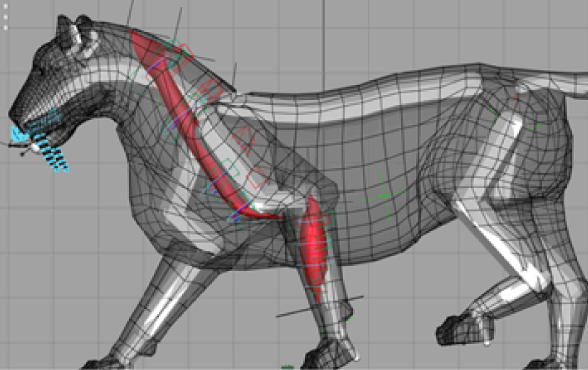
In the following steps, you will use the muscle locators to adjust the muscle length for each of the pose states.
This selects the first inner wireframe box at the top of the neck muscle, which represents the attach point for the nearby cross section.
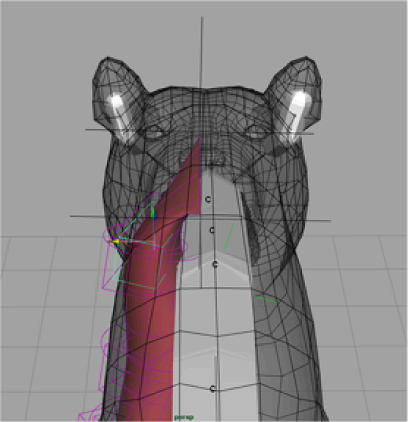
The muscle shape should be organic and follow the tiger’s body. Don’t worry about placing the attach points perfectly, as you can always tweak them later.
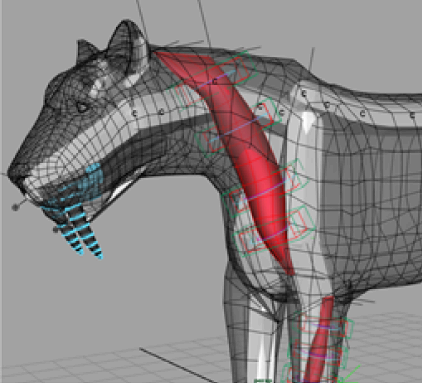
In this lesson you learned to adjust the muscle’s length by altering its center line. You can find the completed file for this lesson, Sabertooth_Length_End.mb, in the Maya Muscle Advanced Techniques folder. Now you are ready to sculpt the muscle surface.